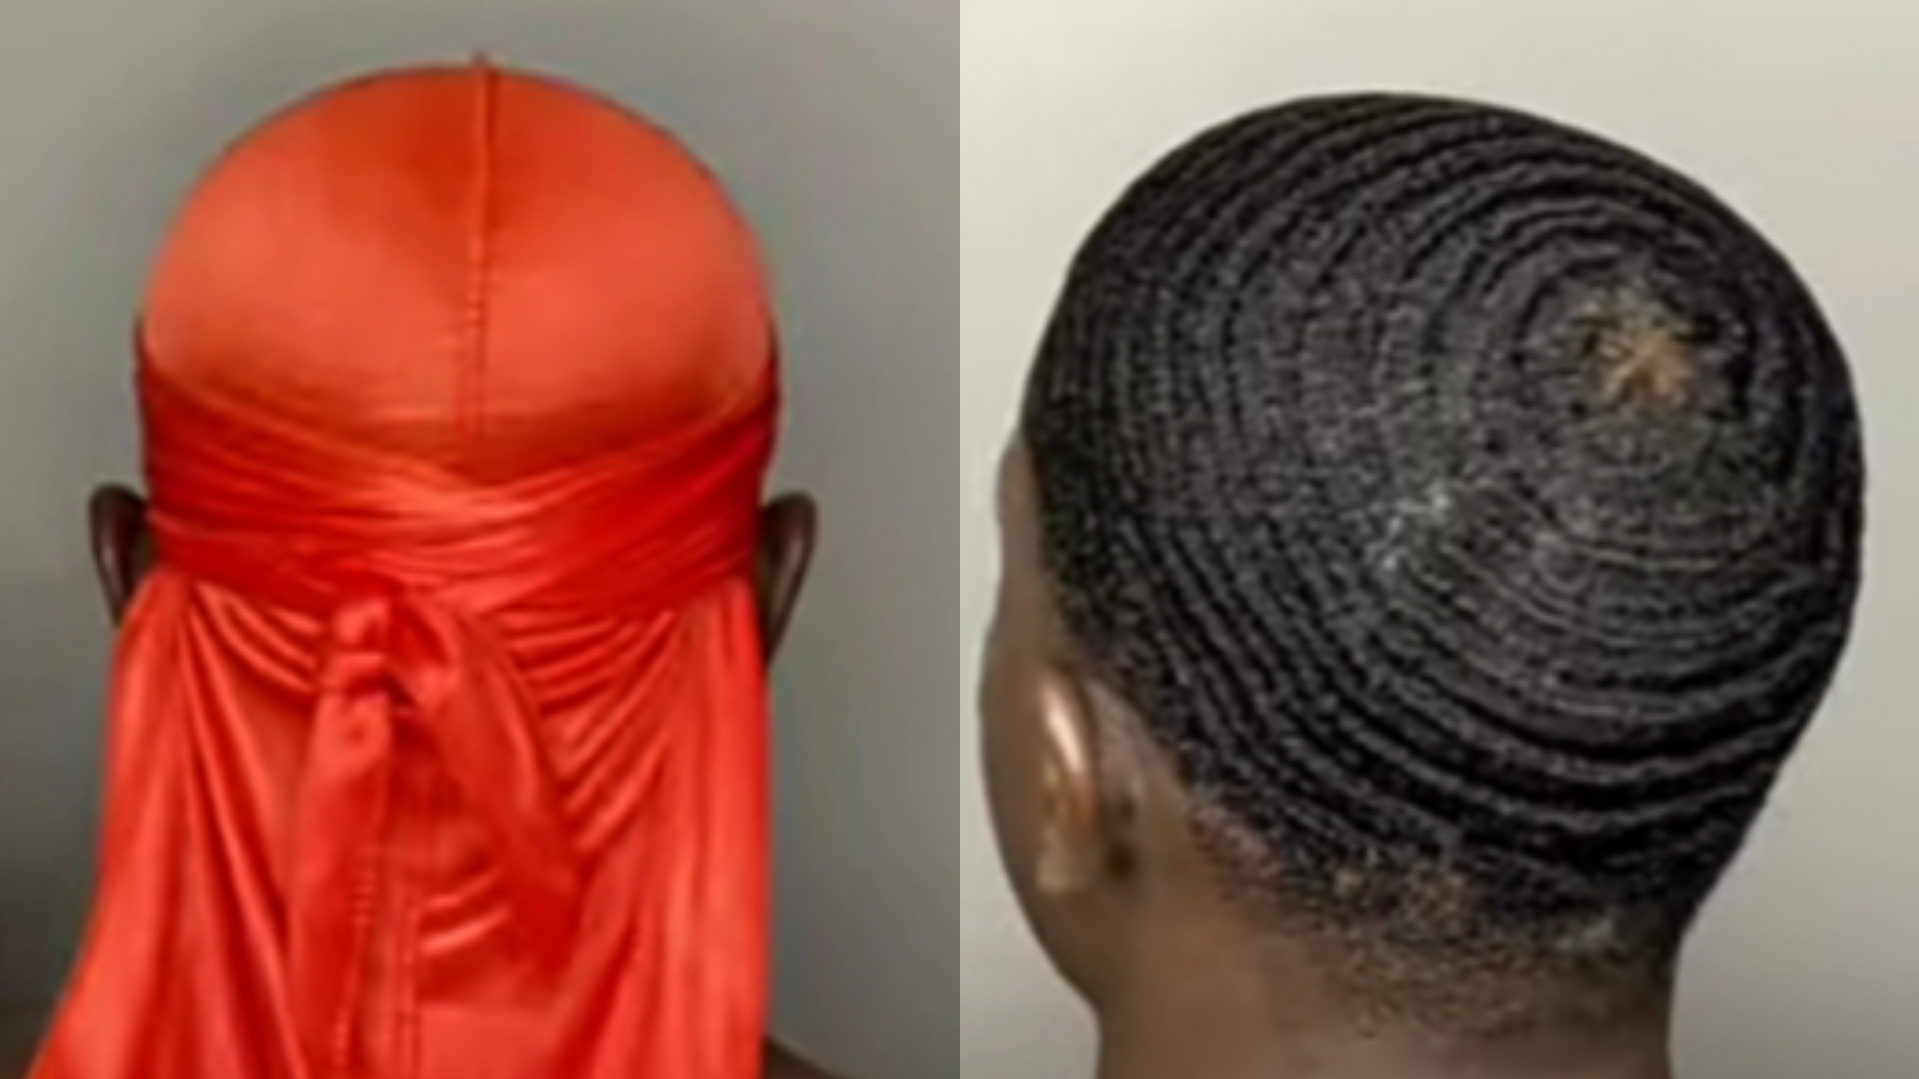
If you’re looking to level up your hairstyle game with a clean, classic, and attention-grabbing look, 360 waves might just be your go-to style. Achieving this iconic hairstyle requires patience, the right tools, and a solid routine. This guide will walk you through everything you need to know, from tools to techniques and hair length considerations.
The Tools You Need to Get Your Ideal 360 Waves
To achieve 360 waves, you’ll need to arm yourself with the right tools. Here’s what you’ll need to make the process smoother:
- Brush: Use a high-quality wave brush. Choose medium or hard bristles depending on your hair texture and length.
- Durag or Wave Cap: Helps compress your hair and locks in moisture, ensuring your wave pattern stays intact.
- Pomade or Wave Cream: Promotes wave formation and adds shine. Look for lightweight products to avoid buildup.
- Moisturizer: Hydrates your hair, preventing dryness and breakage.
- Shampoo and Conditioner: Use sulfate-free options to maintain your hair’s health.
- Mirror: A handheld mirror helps you check the progress on the back of your head.
The Most Common Hair Lengths to Start Your 360 Waves Are
Your starting hair length significantly impacts the wave formation process. Let’s break it down:
1. Scalp Length (Very Short)
- Pros:
- Easy to manage and requires less brushing initially.
- Ideal for beginners since it offers a fresh canvas.
- Cons:
- Takes longer for the waves to become noticeable.
- Requires consistent brushing to stimulate the wave pattern.
2. Medium Length
- Pros:
- Provides a great foundation for deeper waves.
- Easier to control the wave pattern.
- Cons:
- Requires more effort to maintain.
- Risk of frizz if not moisturized properly.
3. Wolf Length (Longer Hair)
- Pros:
- Creates deeper, more defined waves.
- Allows for detailed wave patterns.
- Cons:
- Demands the most upkeep.
- Requires frequent brushing to avoid tangles.
360 Waves Tutorial
Achieving 360 waves is a process that takes time, consistency, and dedication. Follow these steps for the best results:
Step 1: Wash and Condition Your Hair
Clean hair is essential for wave formation. Use a gentle shampoo and a hydrating conditioner. Avoid products with sulfates that strip your hair of moisture.
Step 2: Moisturize Your Hair
Apply a lightweight moisturizer to keep your hair hydrated and soft. Follow up with a small amount of pomade or wave cream for hold and shine.
Step 3: Brush Your Hair
Brush your hair in the direction of your natural growth pattern. Typically, this includes:
- Forward brushing on the top.
- Diagonal brushing on the sides.
- Straight down at the back.
Brush each section for 15–20 minutes daily to train your hair into the wave pattern.
Step 4: Wear a Durag or Wave Cap
Secure your durag or wave cap before going to bed or after a brushing session. This helps compress your hair and locks in the wave pattern. Ensure it’s snug but not too tight.
Step 5: Repeat Daily
Consistency is key. Stick to your routine of brushing, moisturizing, and wearing a durag. It may take 2–4 weeks before you start seeing results, depending on your hair texture.
Pro Tips for Perfecting 360 Waves
- Stay Hydrated: Healthy hair starts from within. Drink plenty of water to keep your hair moisturized from the inside out.
- Trim Regularly: Keep your hair at the ideal length for wave formation. Avoid overgrowth to maintain a neat appearance.
- Avoid Heavy Products: Too much pomade or cream can cause buildup and clog your scalp. Use products sparingly.
- Use Hot Towel Compression: Wrap a warm towel around your head after applying products to help them penetrate deeper into your hair.
Achieving 360 waves is as much about discipline as it is about technique. Stick to this guide, stay consistent, and you’ll soon be turning heads with your impeccable waves. Whether you’re starting from scratch or refining your existing pattern, this process ensures your 360 waves will always look sharp and polished.

