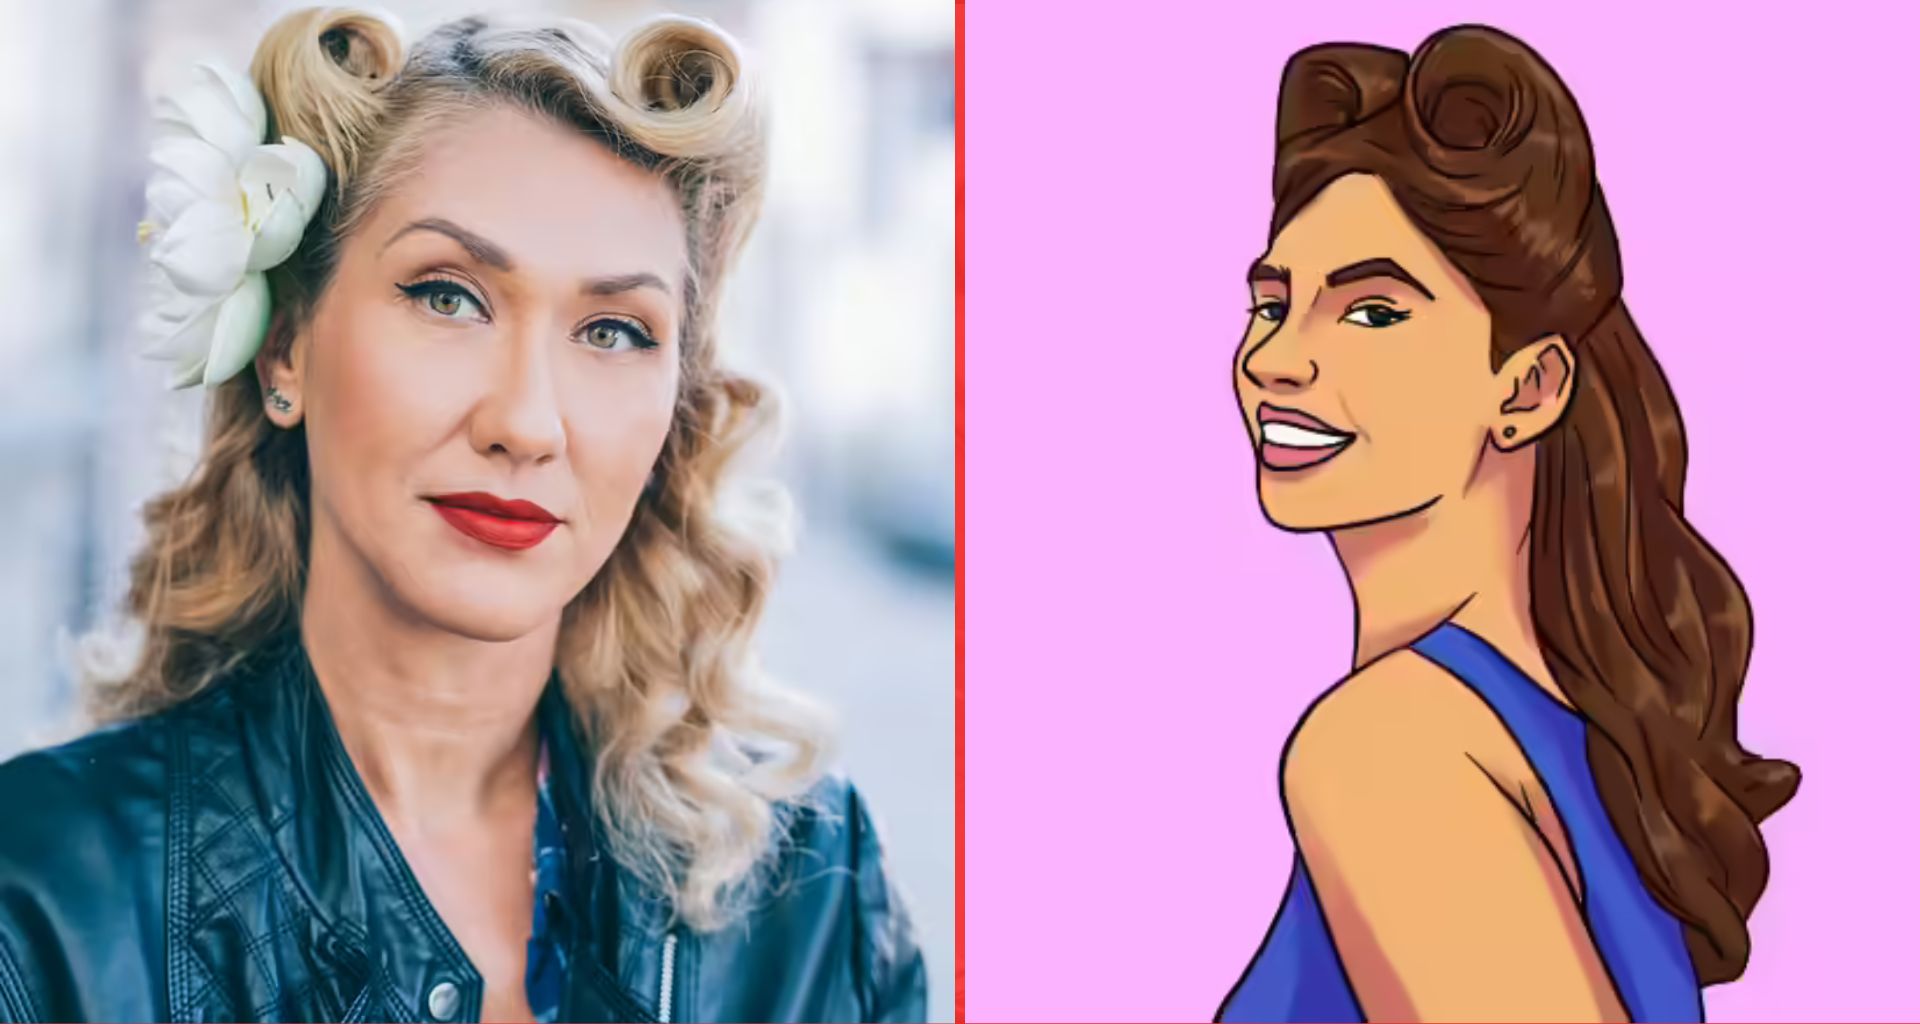
Victory rolls are a quintessential hairstyle that exudes vintage charm and sophistication. Popularized during the 1940s, particularly during World War II, this iconic look features rolled-up sections of hair positioned at the front or sides of the head. The style not only symbolizes retro glamor but also pays homage to the resilience and strength of women during that era. Whether you’re attending a themed event, experimenting with your everyday look, or simply drawn to classic aesthetics, victory rolls are versatile enough for both casual and formal occasions.
While creating victory rolls may seem challenging at first, with the right tools, techniques, and a bit of patience, anyone can master this timeless hairstyle. In this detailed guide, we’ll walk you through everything you need to know—from prepping your hair to maintaining the look throughout the day. Let’s dive in!
Before You Get Started
Achieving perfect victory rolls begins with understanding how to adapt the style to your face shape and hair type. Here are some tips:
- Round Face : Aim for higher victory rolls positioned slightly toward the back of your head. This creates the illusion of greater length.
- Square Face : Position the rolls slightly off-center to soften your jawline and add dimension.
- Diamond Face Shape : Place the rolls toward the sides of your head to add width at the temples.
- Long Bangs : If you have bangs, consider rolling them into a third victory roll behind the main ones for added flair.
Now that you’ve considered your face shape, let’s explore the tools and products you’ll need to create this stunning retro look.
Tools and Products Needed for Victory Rolls
To achieve flawless victory rolls, gather the following essentials:
- Paddle Hairbrush or Wide-Tooth Comb : For detangling and smoothing your hair.
- Tail Comb : To create precise partings.
- Teasing Comb : For adding volume and structure to your rolls.
- Curling Iron : To create loose waves or curls as a base for the rolls.
- Bobby Pins (12–15) : For securing the rolls in place.
- Hair Elastic : To tie off any remaining hair at the back.
- Strong-Hold Hairspray : To lock the style in place and tame flyaways.
- Heat Protectant Spray : To shield your hair from damage caused by styling tools.
- Texturizing Mousse or Volumizing Cream (Optional) : For enhancing texture and grip, especially if you have straight or slippery hair.
- Hair Rollers (Optional) : For an alternative method of shaping the rolls.
Once you’ve assembled your tools, it’s time to begin the process. Follow these step-by-step instructions to achieve perfect victory rolls.
Step-by-Step Process to Create Victory Rolls
Step 1: Prep and Curl Your Hair

- Start with clean, slightly textured hair—avoid washing it on the same day, as freshly washed hair lacks the grip needed for styling.
- Detangle your hair using a paddle brush or wide-tooth comb.
- Apply a heat protectant spray to shield your strands from damage.
- Use a curling iron to create loose waves in small sections (about half an inch each). These curls will provide the bend and texture necessary for forming smooth rolls.
Step 2: Divide Your Hair
- Once your hair is curled, use a tail comb to divide it horizontally from ear to ear, using the crown as the center point. This section will be used to create the victory rolls.
- Secure the remaining hair at the back with a hair elastic or clip, leaving it out of the way for now.
Step 3: Create a Side Part

- Decide whether you want a side part, middle part, or shallow side part. Use a tail comb to create a clean, defined parting.
- Secure the larger portion of your hair with bobby pins, pinning it parallel to the part about one inch away. This keeps the hair out of the way while you work on one side at a time.
Pro Tip : If you find middle parts tricky to balance, opt for a side part instead. Blogger Cherry Valons recommends this approach, noting, “You can make one roll larger and the other smaller for asymmetrical charm.”
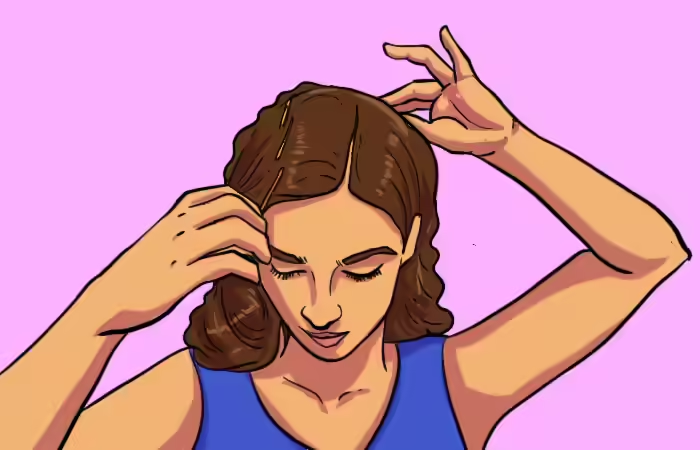
Step 4: Backcomb for Volume

- Take the pinned section of hair and gently backcomb it using a teasing comb. Focus on the roots to create lift and volume, which will help the roll stand upright.
- Smooth the surface lightly with a comb or brush to ensure the outer layer looks sleek and polished.
Step 5: Start Rolling

- Wrap the teased section around your fingers, rolling it inward and toward your part. Keep the hair taut as you roll to maintain a smooth, defined shape.
- Continue rolling until you reach the top of your head, then secure the roll with 2–3 bobby pins inserted vertically into the base.
- Repeat the process on the opposite side for symmetrical rolls.
Alternative Method : For easier shaping, wrap the hair around a hair roller instead of your fingers. Roll it tightly toward the scalp, secure it with the roller, and leave it in place for 30 minutes before removing the roller and pinning the roll.
Step 6: Add Finishing Touches
- Once both rolls are in place, adjust them as needed to ensure they’re even and smooth.
- Mist a strong-hold hairspray over the entire style to set it in place and tame any stray hairs.
- For a softer finish, use a light-hold hairspray if your hair naturally holds styles well.

Step 7: Complete the Look
- Admire your handiwork! For added flair, accessorize with decorative pins, flowers, or a vintage-inspired scarf.
- Style the remaining hair at the back as desired—loose waves, a low bun, or a high ponytail all pair beautifully with victory rolls.
Variations of Victory Rolls for Different Hair Types

Victory rolls can be customized to suit various hair lengths, textures, and styles. Here are some popular adaptations:
Short Hair Victory Rolls :
Create smaller rolls near the crown or sides of the head to keep the style proportional.
Secure with bobby pins and a strong-hold hairspray.
Add accessories like bandanas or decorative clips for a true 1940s touch.
Curly Hair Victory Rolls :
Enhance your natural curls by defining them with a curling wand or leaving them untouched for a romantic effect.
Pin the curls loosely into the rolls to maintain their fullness and texture.
Braided Victory Rolls :
Combine braids with victory rolls for a creative twist. Braid sections of hair leading up to the rolls or wrap a thin braid around the base for intricate detailing.
Perfect for weddings or formal events.
Half-Up Victory Rolls :
Ideal for medium to long hair, this style involves creating rolls with the top section of your hair while leaving the rest down.
Add loose waves or curls to the remaining hair for extra dimension.
Side-Swept Victory Rolls :
Style a single victory roll on one side of the head for an asymmetrical look.
Draw attention to statement earrings or highlight one side of your face.
Double Victory Rolls with Ponytail :
Pair two victory rolls at the crown with a high ponytail or sleek low bun.
Accessorize with ribbons or scarves for a vintage-meets-modern vibe.
How to Maintain Victory Rolls Throughout the Day
To ensure your victory rolls stay intact and stylish all day, follow these tips:
- Use Texturizing Products : Apply a texturizing spray or volumizing mousse before styling to enhance grip and texture.
- Set with Cold Air : After creating your rolls, use a hairdryer on the cold setting to help them set without unraveling.
- Secure with Crossed Bobby Pins : Insert bobby pins in an X shape for extra hold.
- Spray Pins with Hairspray : Lightly mist bobby pins with hairspray before inserting them to boost their holding power.
- Combat Humidity : If you live in a humid climate, use anti-humidity styling products to prevent frizz.
- Avoid Touching the Rolls : Resist the urge to play with your hair, as this can cause the rolls to loosen.
- Keep Touch-Up Supplies Handy : Carry extra bobby pins and a travel-sized hairspray for quick fixes.
- Add a Scarf or Headband : Not only does this provide additional security, but it also enhances the vintage aesthetic.
Frequently Asked Questions
Do victory rolls work for all hair types and lengths?
Yes! With the right techniques and styling products, victory rolls can be adapted to suit almost any hair type or length. Longer hair offers more flexibility, while shorter hair can achieve smaller, equally stylish rolls.
How long does it take to create victory rolls?
The time required depends on factors like hair length, thickness, and skill level. On average, expect to spend 15–45 minutes mastering the look.
