Hop into Spring with These Delightful Foam Cup Bunnies
As the warm embrace of spring arrives, there’s no better way to celebrate the season than with a fun and easy craft project that captures the whimsy and joy of this time of year. Enter the adorable foam cup bunnies – a delightful creation that will not only charm you but also provide hours of creative fun for kids and adults alike. In this step-by-step guide, we’ll explore the process of turning simple foam cups into the cutest little bunnies, perfect for decorating your home or gifting to loved ones during the Easter season.
Why Make Foam Cup Bunnies?
There are countless reasons why foam cup bunnies make for an excellent craft project, especially during the springtime:
- Inexpensive and Accessible Materials: The beauty of this craft lies in its simplicity and the use of everyday materials that are readily available and affordable, making it accessible to everyone.
- Suitable for All Ages and Skill Levels: Whether you’re a seasoned crafter or a newcomer to the world of DIY projects, foam cup bunnies are easy to make and can be enjoyed by both children and adults. It’s a fantastic way to bond with your kids or grandkids while fostering their creativity.
- Encourages Creativity and Imagination: With the freedom to decorate and personalize your bunnies, this craft encourages you to tap into your imagination and unleash your creative side. From color schemes to embellishments, the possibilities are endless.
- Makes for a Cute and Cheerful Decoration or Gift: These adorable bunnies are not just fun to make but also make for charming decorations or thoughtful handmade gifts for friends and family during the Easter season or any springtime celebration.
- Ideal for Easter Celebrations or Springtime Crafting: With their festive and whimsical nature, foam cup bunnies are the perfect addition to your Easter festivities or a delightful way to welcome the spring season into your home.
Materials Needed for Foam Cup Bunny Crafting
Before we dive into the step-by-step instructions, let’s gather the necessary materials for our foam cup bunny crafting adventure:
- Foam cups (different sizes for varying bunny sizes)
- Acrylic paint or markers
- Scissors
- Glue or double-sided tape
- Pom-poms or cotton balls
- Googly eyes or other embellishments (e.g., pipe cleaners, buttons, sequins)
It’s important to note that you can get creative with the materials and use what you have on hand. For example, you can substitute acrylic paint with markers or even crayons if that’s what you have available. The key is to let your imagination run wild and personalize your bunnies to your heart’s content.
Step-by-Step Instructions for Making Foam Cup Bunnies
Now, let’s dive into the fun part – creating your very own foam cup bunnies! Here’s a step-by-step guide to help you along the way:
- Preparing the Foam Cup Body
- Start by selecting the size of the foam cup you want to use for your bunny’s body. Smaller cups will make for adorable mini bunnies, while larger cups will create bigger, more substantial bunnies.
- Use scissors to trim the top rim of the cup slightly, creating a smooth, even surface for your bunny’s head.
- Creating the Bunny Ears
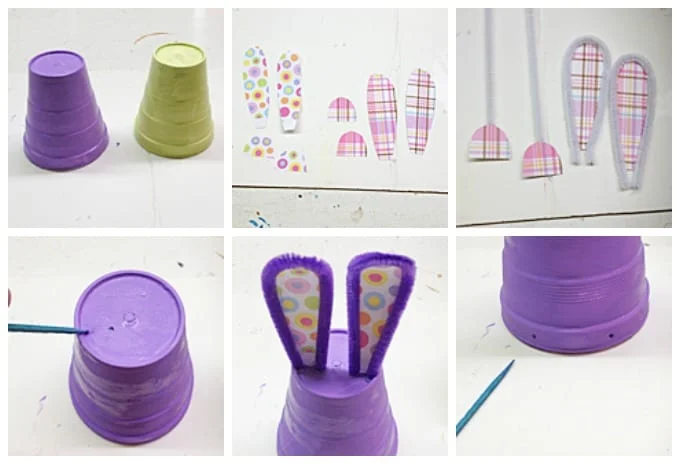
- Take another foam cup and cut out two ear shapes from the side of the cup. These can be simple triangles or more intricate shapes, depending on your preference.
- Use a pen or marker to draw a line down the center of each ear to create a folded effect.
- Gently bend and shape the ears along the drawn line.
- Adding the Bunny Face
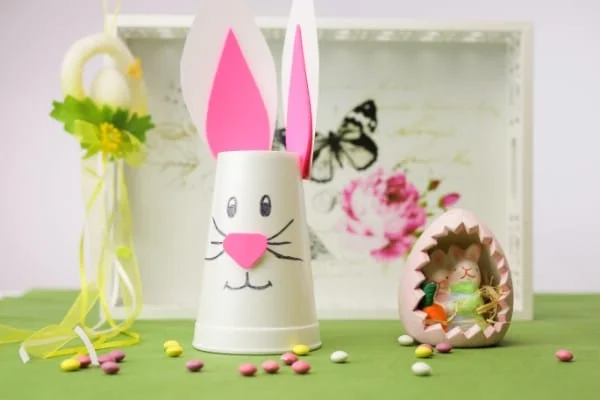
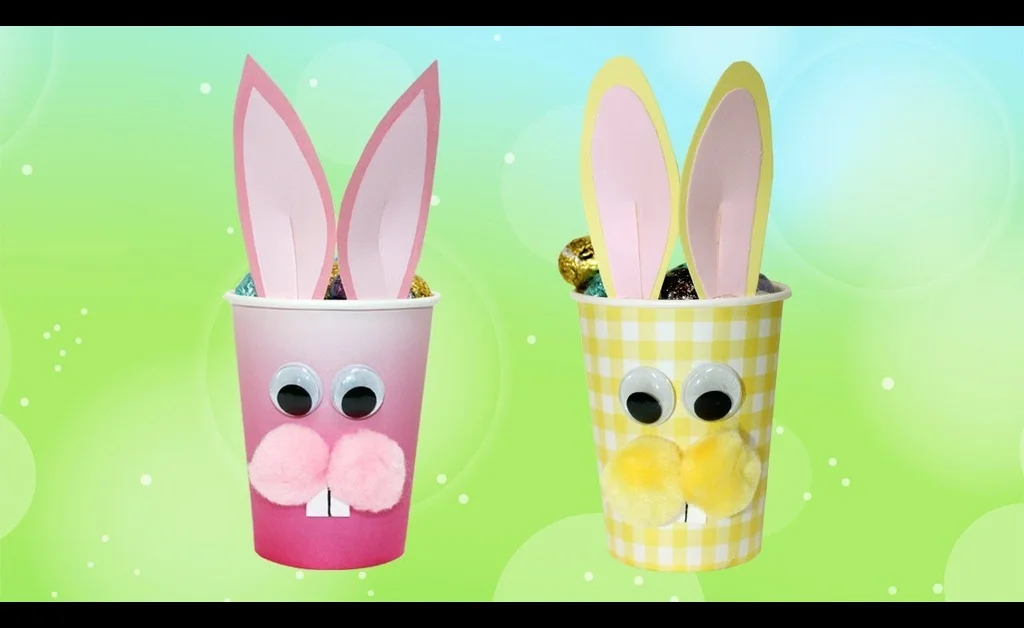
- With your markers or acrylic paint, draw a cute bunny face on the smooth surface of the cup body. This can include a pink nose, whiskers, and a sweet bunny smile.
- Attach the googly eyes or create eyes using markers or paint.
- Decorating and Embellishing
- Now comes the fun part – decorating and embellishing your bunny! Use acrylic paint or markers to add patterns, colors, or designs to your bunny’s body and ears.
- Attach pom-poms or cotton balls to create a fluffy tail or use pipe cleaners to make whiskers or antennae.
- Get creative with sequins, buttons, or any other embellishments you have on hand to make your bunny truly unique.
- Assembling the Bunny
- Once you’ve decorated your bunny to your heart’s content, it’s time to assemble it.
- Use glue or double-sided tape to attach the ears to the top of the cup body, positioning them at the desired angle.
- If you’ve created a tail or other accessories, attach them to the back or sides of the cup body.
Tips and Tricks for the Perfect Foam Cup Bunny
While the process of making foam cup bunnies is relatively straightforward, here are some tips and tricks to help you create the most adorable and well-crafted bunnies:

- Choosing the Right Cup Size: Consider the desired size of your bunny when selecting the foam cups. Smaller cups will result in mini bunnies, while larger cups will create more substantial bunnies.
- Cutting Techniques: Use sharp scissors and make clean, precise cuts when shaping the ears or trimming the cup rims. This will ensure a neat and polished look for your bunnies.
- Creative Painting or Decorating: Don’t be afraid to experiment with different color combinations, patterns, or designs when decorating your bunnies. You can even use stencils or stamps to create unique and intricate designs.
- Alternative Materials or Embellishments: While the basic materials are affordable and readily available, you can also explore using alternative materials or embellishments. For example, you could use felt or fabric scraps for the ears or embellish your bunnies with buttons, ribbons, or other craft supplies you have on hand.
- Displaying or Gifting Your Foam Cup Bunnies: Once your bunnies are complete, display them proudly on shelves, mantles, or windowsills for a touch of springtime charm. Alternatively, package them in a decorative box or basket and gift them to loved ones as a handmade Easter or springtime surprise.
Variations and Customizations for Foam Cup Bunnies
One of the best things about foam cup bunnies is the endless possibilities for customization and variation. Here are some ideas to inspire your creativity:

- Different Color Schemes or Patterns: Experiment with various color combinations or patterns to create unique and eye-catching bunnies. You could even try using neon or metallic paints for a bold and vibrant look.
- Adding Accessories or Props: Take your bunnies to the next level by adding accessories or props. For example, you could create tiny baskets for them to hold, or craft carrots out of foam or pipe cleaners.
- Creating Themed Bunnies: Customize your bunnies to match specific holidays or events. For Easter, you could add pastel colors or Easter egg patterns. For a child’s birthday party, you could create bunnies with their favorite colors or characters.
- Incorporating Recycled or Upcycled Materials: Get creative and resourceful by using recycled or upcycled materials to create your bunnies. For example, you could use cardboard tubes for the body or repurpose fabric scraps for the ears or accessories.
Extending the Fun: More Foam Cup Craft Ideas
Once you’ve mastered the art of foam cup bunnies, why stop there? The possibilities for foam cup crafts are endless! Here are some ideas to inspire you:
- Other Animal or Character Designs: Explore creating other adorable foam cup animals or characters, such as chicks, lambs, bears, or even superheroes or fairy tale characters.
- Seasonal or Holiday-Themed Crafts: Get festive and create foam cup crafts for various seasons or holidays, such as pumpkins for Halloween, snowmen for Christmas, or hearts for Valentine’s Day.
- Home Decor or Party Decorations: Transform foam cups into cute and inexpensive home decor pieces or party decorations. You could create centerpieces, garlands, or even miniature planters or vases.
- Educational or Learning Activities for Kids: Incorporate foam cup crafts into educational or learning activities for kids. For example, you could create counting or alphabet-themed crafts, or use them to teach about different animals or shapes.
Frequently Asked Questions about Foam Cup Bunnies
To help address some common queries, here are a few frequently asked questions about foam cup bunnies:
How long do foam cup bunnies last?
With proper care and storage, foam cup bunnies can last for quite a while. If you’ve used non-toxic materials and kept them away from excessive moisture or sunlight, they can remain in good condition for several months or even years.
Can I use different types of cups or materials?
Absolutely! While foam cups are a popular choice due to their availability and affordability, you can experiment with different types of cups or materials. For example, you could use paper cups, plastic cups, or even repurpose other household items like cardboard tubes or containers.
How can I make the bunnies stand up or sit?
To make your foam cup bunnies stand or sit, you can insert a wooden skewer or dowel into the bottom of the cup. This will provide stability and allow you to position your bunnies in different poses. Alternatively, you can create a small base or stand using cardboard or other materials.
What kind of glue or adhesive works best?
For most foam cup crafts, a simple white school glue or a hot glue gun works well for attaching embellishments or assembling parts. However, for more intricate or delicate materials, you may want to use a specialized craft glue or adhesive.
How can I involve young children in this craft?
Foam cup bunnies are an excellent craft for children of all ages. For younger children, you can pre-cut or prepare some of the materials, and provide them with kid-friendly materials like crayons or stickers for decorating. Encourage their creativity and let them explore their imagination while supervising them closely.
Conclusion
Creating foam cup bunnies is a delightful and enjoyable craft that not only celebrates the arrival of spring but also fosters creativity, imagination, and quality time spent with loved ones. With simple materials and easy-to-follow instructions, these adorable bunnies are accessible to crafters of all ages and skill levels.
Remember, the true beauty of foam cup bunnies lies in their ability to be customized and personalized to your heart’s content. Don’t be afraid to experiment with different colors, patterns, and embellishments to create unique and one-of-a-kind bunnies that reflect your individual style and creativity.
So, gather your materials, invite your family or friends, and hop into the world of foam cup bunny crafting. Not only will you create charming decorations or gifts, but you’ll also make wonderful memories and celebrate the joy of springtime in a fun and creative way.
Happy crafting, and may your foam cup bunnies bring a smile to everyone who sees them!

