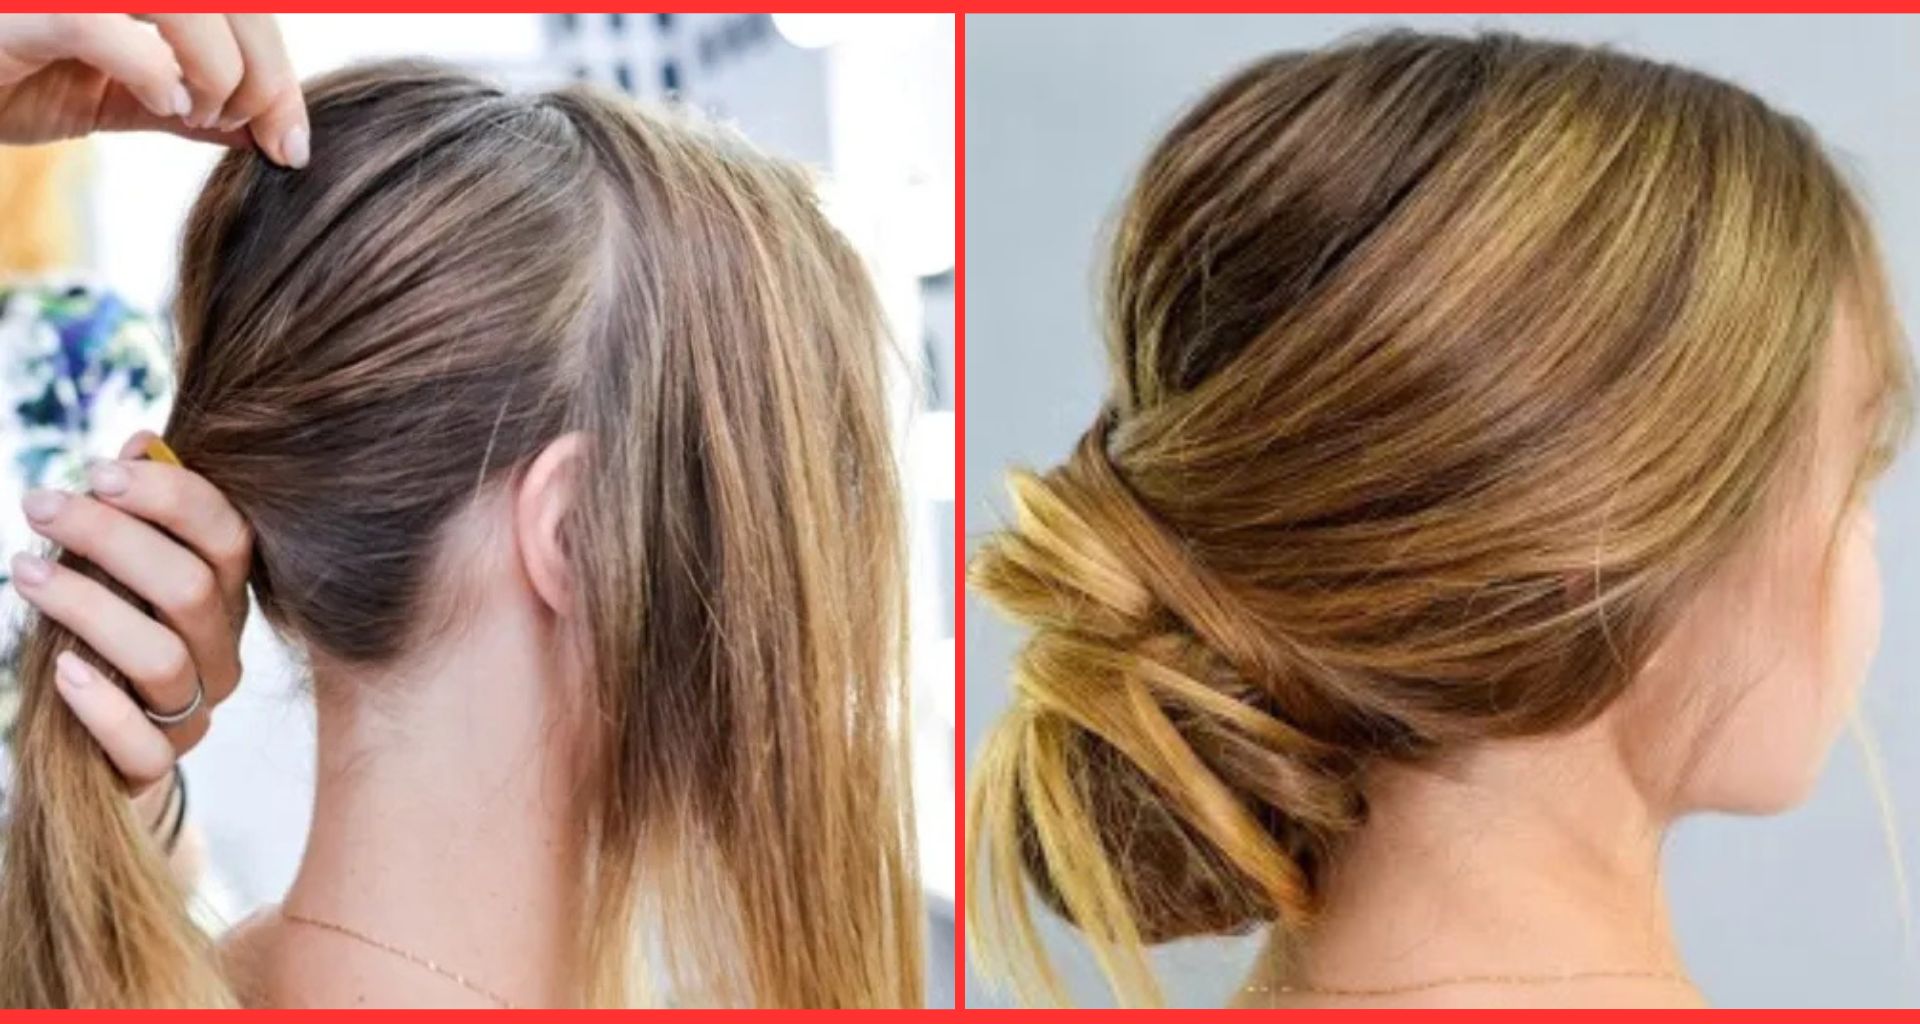
The chignon is a sophisticated, low updo that brings elegance to any look, whether you’re headed to a wedding, a night out, or simply want to elevate your everyday style. With just a few steps, you can create this timeless hairstyle effortlessly. Here’s a simple, step-by-step guide to achieving a chic chignon.
Step 1: Prep Your Hair
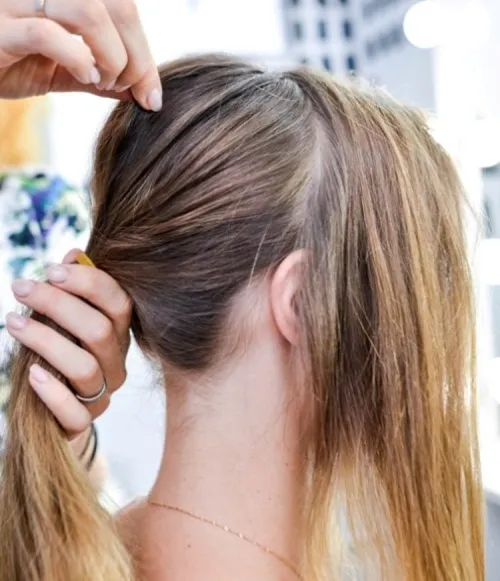
Start with dry, detangled hair. For added hold and texture, apply a light styling mousse or texture spray to your roots and lengths. This helps the chignon hold its shape and prevents flyaways.
- Pro Tip: If you have fine hair, use a volumizing spray to add a bit of lift and fullness to your strands.
Step 2: Create a Low Ponytail
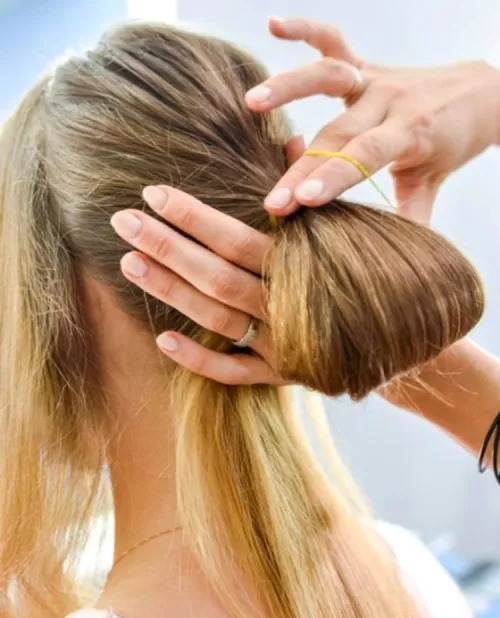
Gather your hair at the nape of your neck or slightly to one side, depending on your preferred style. Secure it with a hair elastic, but keep it a bit loose to allow for styling flexibility.
- Pro Tip: A side chignon can add a romantic touch, perfect for formal events or date nights.
Step 3: Twist the Ponytail
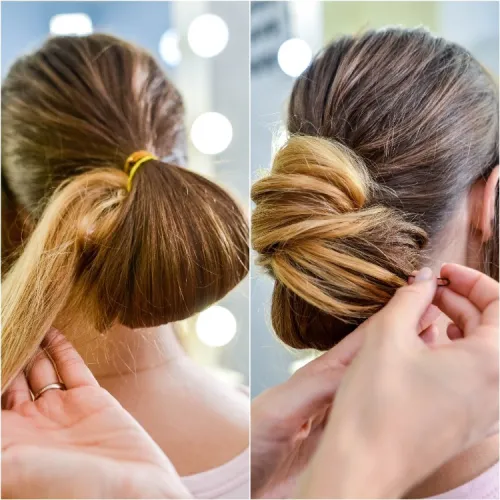
Once you have your ponytail, start twisting the hair from the base all the way to the ends. The twist will help the chignon take on a sleek, elegant shape.
- Pro Tip: For a softer look, keep the twist a bit loose, allowing some texture to come through.
Step 4: Form the Bun
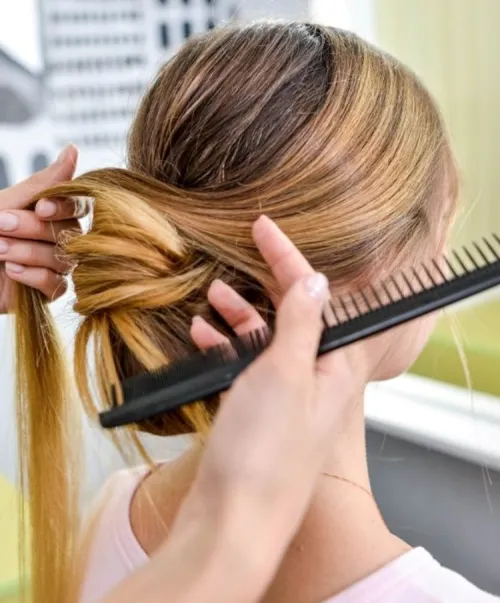
Wrap the twisted ponytail around the base of the ponytail holder, creating a bun shape. Tuck the ends under the bun and secure them with bobby pins, making sure they’re not visible from the outside.
- Pro Tip: If you want more volume, gently pull on sections of the bun to make it appear fuller. This works well for a looser, more relaxed chignon.
Step 5: Secure with Pins
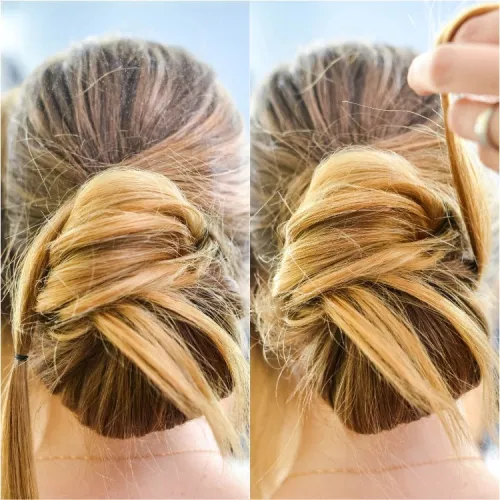
Place bobby pins around the bun to hold it firmly in place, especially on both sides and at the base. Check the back of your chignon in a mirror to ensure it’s evenly shaped and no pins are visible.
- Pro Tip: Use pins that match your hair color for a discreet finish, and consider using stronger pins if you have thicker hair.
Step 6: Finish with Hairspray
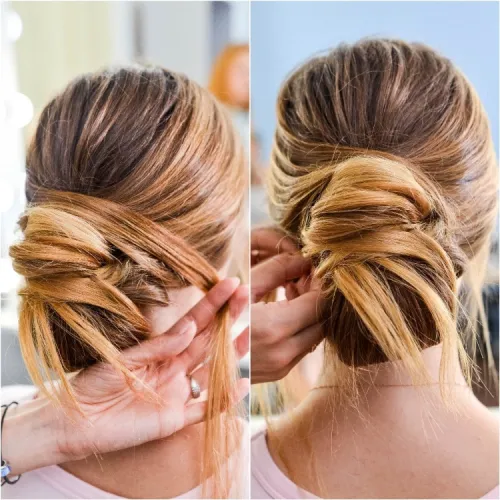
Once your chignon is in place, give it a light spritz of hairspray to keep everything intact. This will help prevent flyaways and maintain the chignon’s sleek appearance.
- Pro Tip: For extra shine, mist your chignon with a shine spray or apply a bit of serum to your hands before gently smoothing over the chignon.
What’s the Difference Between a Bun and a Chignon?
While often used interchangeably, a bun and a chignon are two distinct styles with key differences:
- Placement: A bun can be placed anywhere on the head, from high up to low down, while a chignon is traditionally styled low at the nape of the neck.
- Structure: Buns tend to be tighter, rounder, and more compact, whereas a chignon usually has a softer, looser structure that creates a more relaxed look.
- Style Use: A bun can be casual or formal, suitable for various occasions. Chignons, on the other hand, are often chosen for their refined, elegant appearance, making them perfect for formal events.
Chignon Bun How-To: Step-by-Step Tutorial
For an even more polished chignon, here’s an alternative technique that adds a hint of French flair to your look.
- Begin with a Low Ponytail: Follow steps 1 and 2 from above, focusing on keeping the ponytail secure but loose.
- Separate into Two Sections: Split the ponytail in two and twist each section individually before intertwining them together.
- Create a Loop: Form a loose loop with the intertwined sections by folding them up and securing them at the nape.
- Wrap and Tuck: Wrap the loose ends around the base of the loop to conceal the hair tie and secure with pins.
- Loosen for Volume: For a relaxed chignon, gently pull on sections of the loop to add volume and a bit of texture.
- Secure and Set: Finish with hairspray for hold and, if desired, add a decorative hair accessory for added flair.
The chignon is an effortlessly chic updo that transforms any look into something elegant and sophisticated. With practice, you’ll be able to create this timeless hairstyle in minutes, perfect for elevating your style on any occasion.
