Channel classic Hollywood charm with victory rolls—a retro hairstyle that exudes sophistication and glamour. Whether you’re a vintage enthusiast or looking to try something bold and iconic, victory rolls offer a stunning way to elevate your look. This step-by-step guide will walk you through the process, ensuring you achieve the perfect retro rolls with ease.
What Are Victory Rolls?
Victory rolls are a vintage hairstyle featuring rolled sections of hair positioned prominently at the front or sides of the head. Popularized during the 1940s, this iconic look was a nod to the celebratory aerial maneuvers performed by fighter planes during World War II. The style has since become synonymous with elegance and resilience, making it a favorite among fashionistas and retro enthusiasts alike.
Victory rolls are versatile and can be customized to suit various face shapes:
- Round Face: Position higher rolls towards the back for a lengthening effect.
- Square Face: Place rolls slightly off-center to soften the jawline.
- Diamond Face: Add width at the temples by placing rolls further out to the sides.
Tools and Products You’ll Need
To achieve flawless victory rolls, gather these essentials:
- Paddle Hairbrush or Wide-Tooth Comb: For detangling.
- Tail Comb: For precise parting.
- Teasing Comb: To add volume.
- Curling Iron: For creating curls or waves.
- Bobby Pins: To secure the rolls in place (12–15 recommended).
- Hair Elastic: To tie back any loose hair.
- Strong-Hold Hairspray: To keep the style intact.
- Optional: Hair donuts or volumizing mousse for extra texture and support.
Step-by-Step Victory Rolls Tutorial
Step 1: Prep and Curl Your Hair
- Begin by detangling your hair with a paddle brush or wide-tooth comb.
- Apply heat protectant and curl half-inch sections of your hair using a curling iron.
- Opt for loose or tight curls depending on your desired look. These curls add texture and make the rolling process easier.
Step 2: Divide Your Hair
- Use a tail comb to part your hair horizontally from ear to ear, using the crown as a guide.
- Leave the hair at the back down or loosely tie it with a hairband.
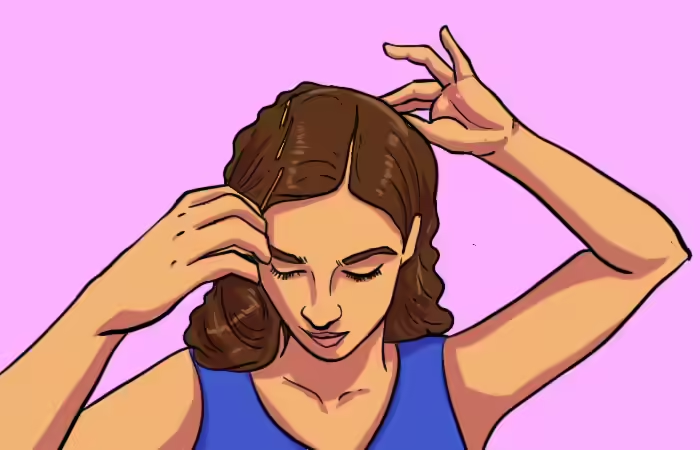
Step 3: Part Your Hair

- Create a side or middle part based on your preference.
- Secure one side of the part with 3–4 bobby pins to make styling easier.
Step 4: Create Volume![]()
- Backcomb the sectioned-off hair using a teasing comb to add volume.
- Smooth the surface lightly with a brush for a polished appearance.
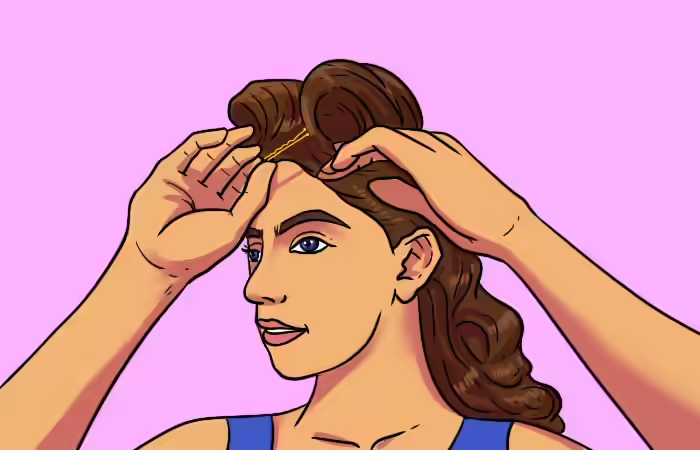
Step 5: Roll Your Hair

- Wrap the teased section around your fingers, rolling it inward and towards your parting.
- Keep the roll taut for a smooth finish. Once rolled, secure it with 2–3 vertically placed bobby pins.
- Alternatively, use a hair roller to shape the roll and secure it after about 30 minutes.
Step 6: Repeat on the Other Side

- Mirror the rolling and pinning process on the opposite side of your head for a symmetrical look.
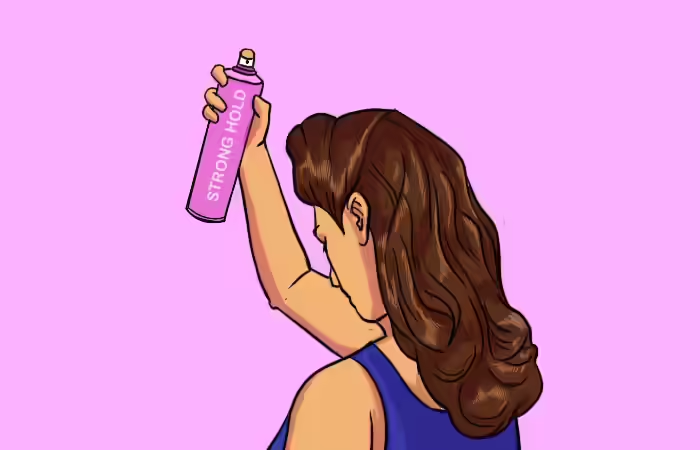
Step 7: Finishing Touches

- Adjust the rolls to ensure they’re even and smooth.
- Set the style with a strong-hold hairspray to keep flyaways at bay.
- Add decorative pins or accessories for a personalized touch.
How to Maintain Victory Rolls Throughout the Day
Victory rolls are stunning, but keeping them intact requires a bit of effort. Here are some tips to ensure they stay perfect:
- Texture First: Use texturizing spray or mousse to give your hair grip before styling.
- Cold-Set Method: Blow-dry your rolls on a cool setting to help them hold their shape.
- Extra Security: Cross bobby pins in an X shape for added hold.
- Anti-Humidity Products: Use anti-frizz sprays in humid climates.
- Avoid Touching: Refrain from playing with your rolls to prevent them from unraveling.
- Travel Kit: Keep extra bobby pins and travel-sized hairspray handy for touch-ups.
Victory Rolls: A Nod to Retro Glamour
Victory rolls are more than just a hairstyle—they’re a statement of elegance and strength. While they require some patience and practice, the result is undeniably worth it. Don’t hesitate to experiment with different placements, roll sizes, or accessories to make the style uniquely yours.
With these steps and tips, you’re ready to master this timeless look and channel the glamour of the golden age of Hollywood. Whether for a themed party or a modern twist on vintage style, victory rolls are your go-to for a bold, retro-chic appearance!

