When it comes to school hairstyles, the perfect look strikes a balance between comfort, manageability, and style. It’s essential to choose hairstyles that not only align with school policies but also let your daughter express her personality and creativity. Whether it’s a regular school day, picture day, or a special event, these trendy and practical hairstyles will make your little one stand out. You can even add fun accessories like ribbons, clips, and tic-tacs to elevate the look. Let’s dive into this ultimate list of adorable school hairstyles that are easy to recreate and perfect for busy mornings!
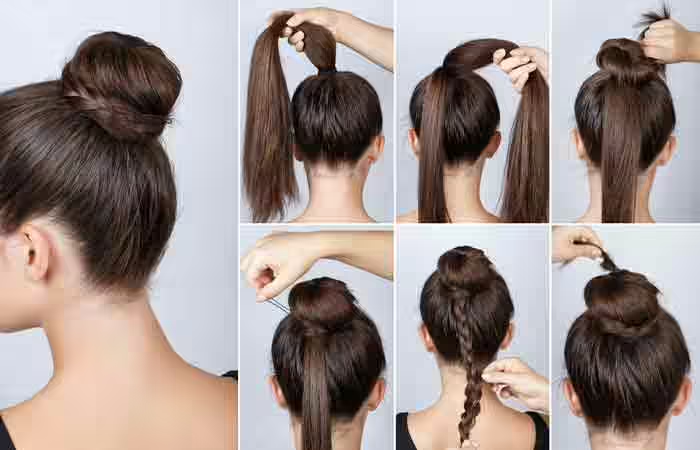
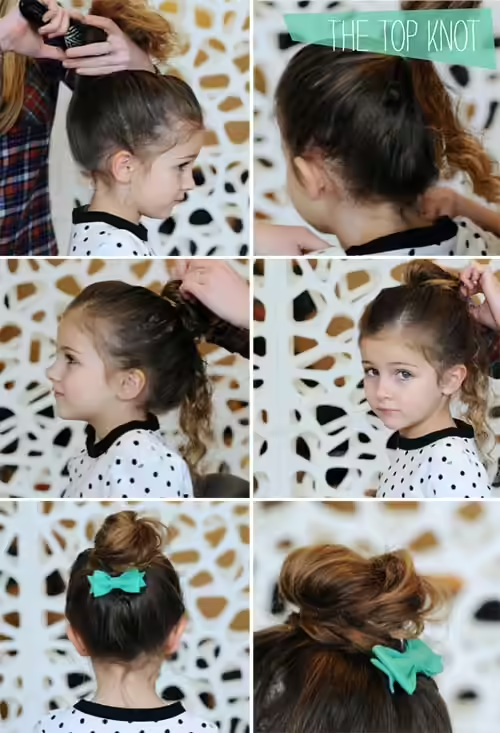
1. Simple Back Knot
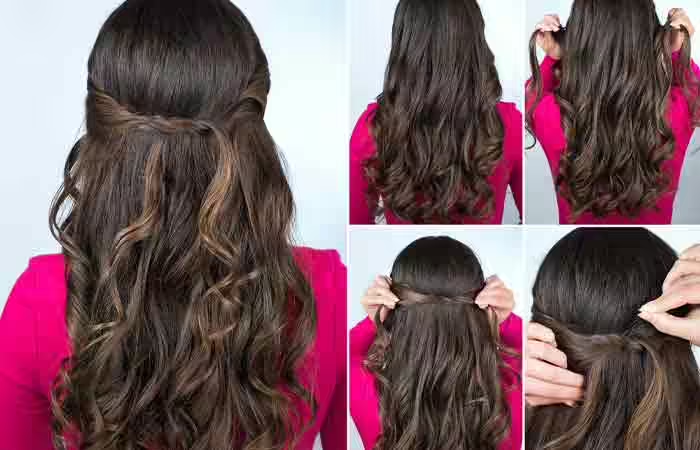
A simple yet stylish back knot is perfect for wavy hair. This hairstyle adds a touch of elegance with minimal effort, making it a great go-to style.
What You Need:
- Bobby pins
How To Style:
- Take small sections of hair from each temple.
- Pull them to the back of the head and tie them in a loose knot.
- Secure the knot with bobby pins.
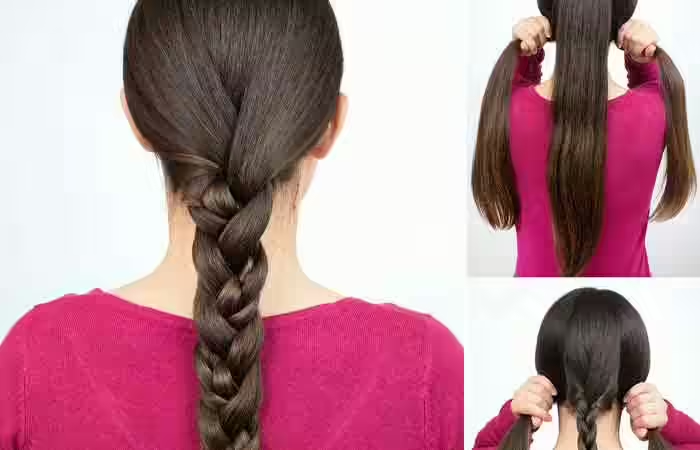
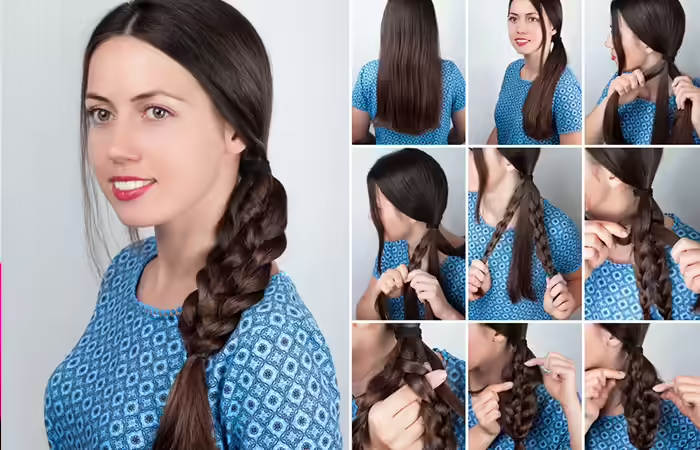
2. Single Colorful Braid
Add a pop of color to a regular braid with this vibrant hairstyle. It’s quick, easy, and oh-so-cute!
What You Need:
- Rat-tail comb
- Thin satin ribbon (any color)
- Elastic hair tie
How To Style:
- Part the hair on one side using the comb.
- Select a small section of hair at the parting and wrap a ribbon around its base.
- Braid the section with the ribbon till the end and secure with an elastic.
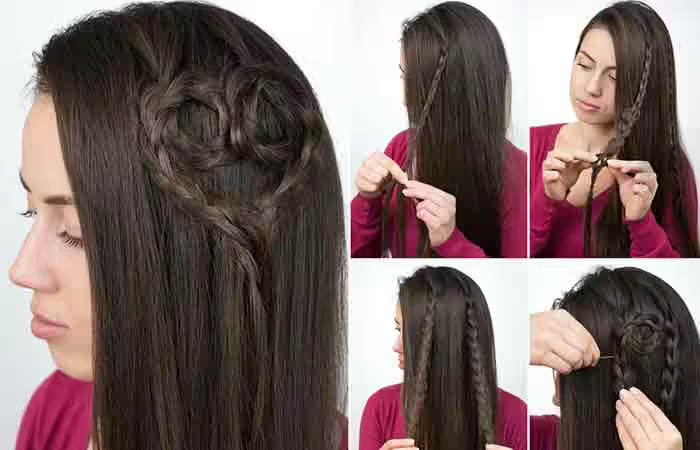
3. Heart Knot
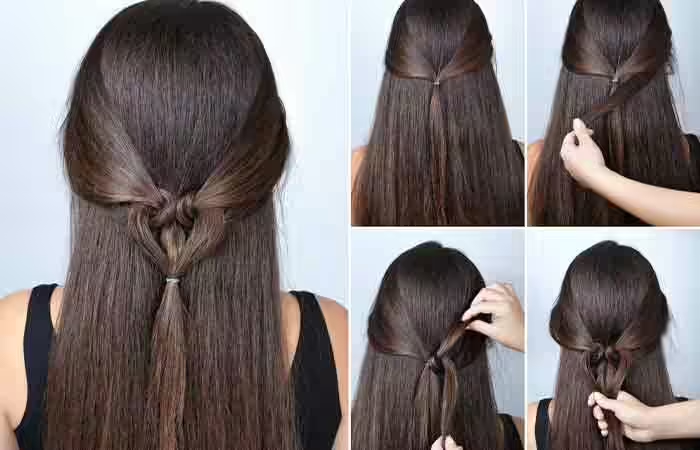
Turn your child’s hair into a lovely heart-shaped knot! This charming style is ideal for long, straight hair.
What You Need:
- Rat-tail comb
- Hair elastic
How To Style:
- Section small portions of hair from each side of the face.
- Knot the upper sections at the back and use the lower sections to form the top curves of the heart.
- Tie all ends together to complete the heart shape.
4. Pinned Braided Heart
A side-parted braided heart is a whimsical hairstyle that’s sure to steal hearts!
What You Need:
- Hair elastics
- Bobby pins
How To Style:
- Part the hair deeply on one side.
- Create two small braids at the parting and pin them into a heart shape.
- Let the braid ends blend into the rest of the hair.
5. Double Braid Headband
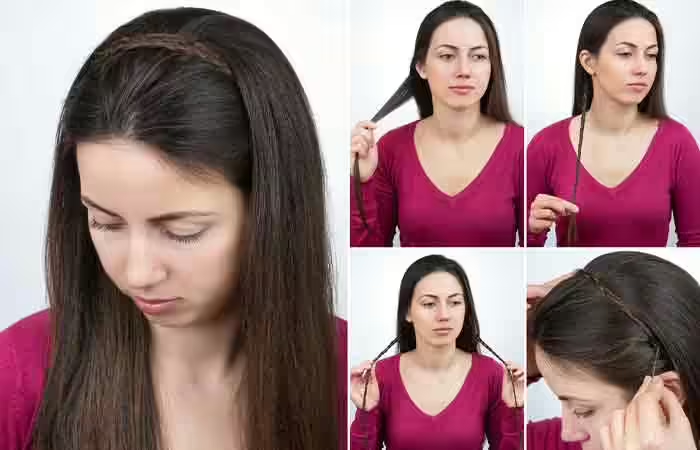
Channel a fairytale vibe with these braided headbands that frame the face beautifully.
What You Need:
- Hair elastics
- Bobby pins
How To Style:
- Create a braid behind each ear.
- Wrap each braid over the crown and pin it behind the opposite ear.
6. Stacked Braid Hairdo
This layered braid hairstyle is a step up from the usual braid, creating a stacked effect for added charm.
What You Need:
- Hair elastics
- Sectioning clips
How To Style:
- Create small twisted sections of hair on each side.
- Layer these twists diagonally at the back, securing each with an elastic.
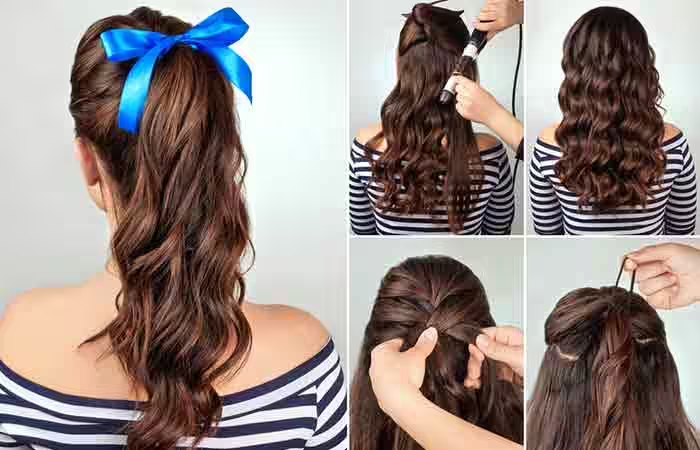
7. Half Ponytail With Side Twists
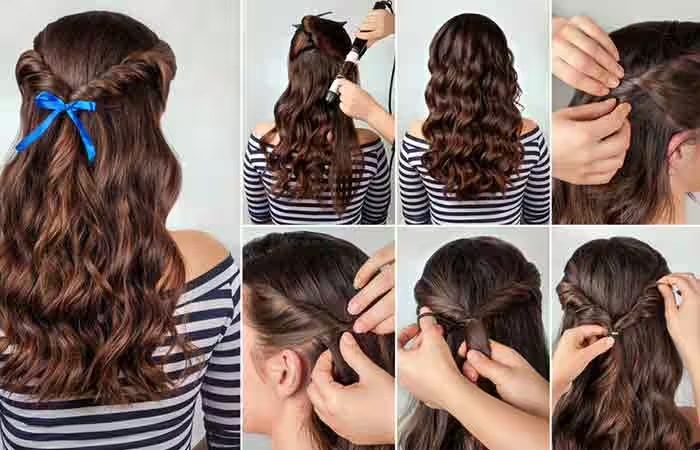
This princess-inspired style combines elegant side twists with flowing curls for a dreamy look.
What You Need:
- Satin ribbon
- Curling wand
- Heat protectant
How To Style:
- Curl the hair and twist two sections from the sides.
- Secure the twists with an elastic at the back and tie a ribbon bow.
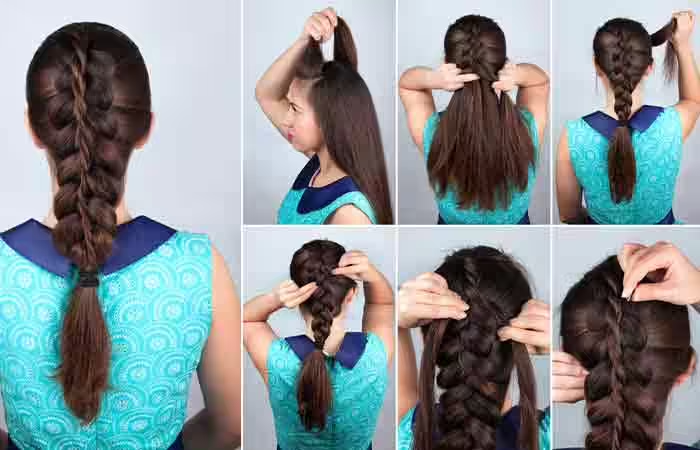
8. Fancy Three-Strand Braid
This intricate braid adds an element of sophistication to any outfit while remaining simple to achieve.
What You Need:
- Sectioning clips
- Hair elastics
How To Style:
- Create a basic braid with a central section.
- Use this braid as a strand in a larger braid with the outer sections.
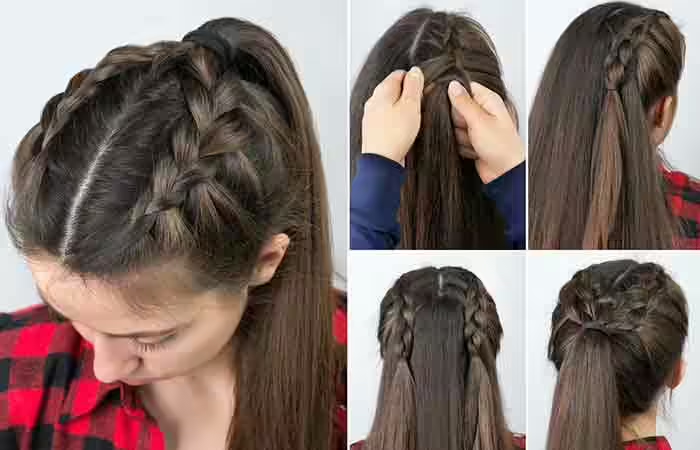
9. Fancy Dutch Braid
A stylish Dutch braid works wonders for long hair, keeping it secure while looking effortlessly chic.
What You Need:
- Sectioning clips
- Hair elastics
How To Style:
- Braid a Dutch braid starting from the crown and secure it at the end.
- Add a twisted front section for extra flair.
10. French Braided Crown Ponytail
This gorgeous ponytail combines the elegance of a French braid with the simplicity of a ponytail.
What You Need:
- Hair elastics
- Satin ribbon
How To Style:
- Create a French braid at the crown and tie it into a ponytail.
- Wrap a ribbon bow at the ponytail’s base.
11. Loose Side Braid With Pin-Up Bow
Accessorize a side braid with a wired fabric bow for a retro-inspired hairstyle that’s perfect for family events.
What You Need:
- Hair elastic
- Wired fabric headband
How To Style:
- Make a loose side braid and secure it with an elastic.
- Add the headband, twisting it into a bow at the crown.
12. Double Dutch Braided Pony
This dramatic hairstyle combines the neatness of Dutch braids with the charm of a ponytail.
What You Need:
- Rat-tail comb
- Hair elastics
How To Style:
- Create two Dutch braids on top sections of the head.
- Merge the braids into a single ponytail at the back.
13. Scrunchy Bubble Hairdo
This playful style with bubble sections is a favorite among kids who love whimsical, fairy-tale looks.
What You Need:
- Hair elastics
How To Style:
- Create bubble sections by tying elastics at intervals down the length of the hair.
- Tug gently at each section to add volume.
14. Half Top Knot
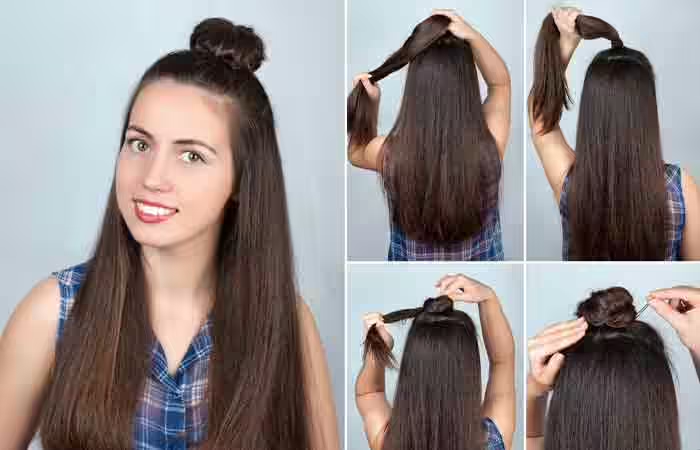
This trendy style is quick, cute, and works well for all occasions.
What You Need:
- Hair elastics
How To Style:
- Divide the hair into top and bottom halves.
- Twist the top half into a knot and secure it with an elastic.
15. Braided Crown Half Top Knot
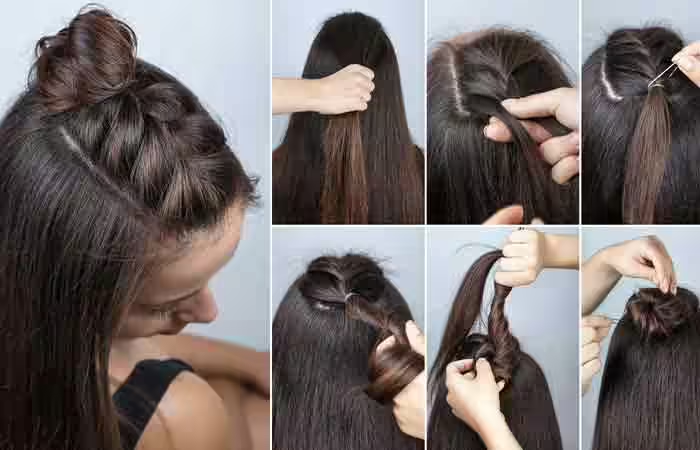
Add a braid to your half top knot for a more polished and stylish look.
What You Need:
- Rat-tail comb
- Hair elastics
How To Style:
- French braid the middle section of hair and secure it into a knot.
- Let the remaining hair flow naturally.
These hairstyles are just the beginning! From playful braids to elegant buns, each style offers a unique way to celebrate your daughter’s individuality while keeping her comfortable throughout the school day. Try these out and make hairstyling an enjoyable bonding activity for you and your little one!
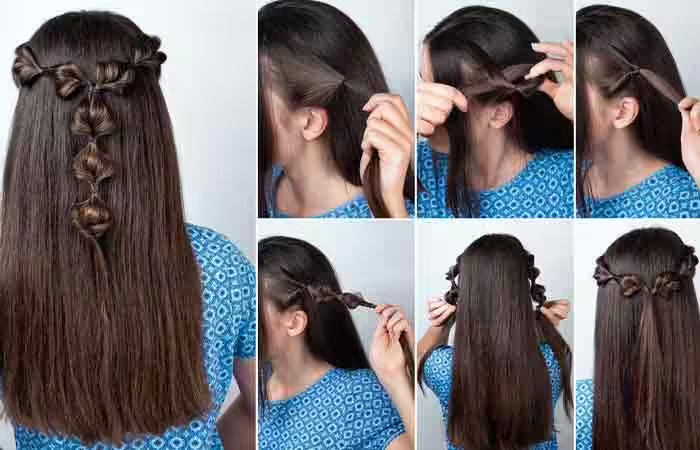
Deep Side Waterfall Braid
- Part her hair deeply on one side.
- From the side with more hair, pick up a 3-inch section and braid it down to the ends, securing with a hair elastic.
- Insert your thumb and index finger through the first stitch of the braid and pull a small section of hair from the front through the stitch.
- Repeat step 3 down the braid, creating a cascading waterfall effect, until you reach the opposite side of the parting.
- Pin the end of the braid underneath her hair to finish the look.
Quick Tip
This hairstyle looks best on wavy or curly hair. Add beads to the braids for extra flair.
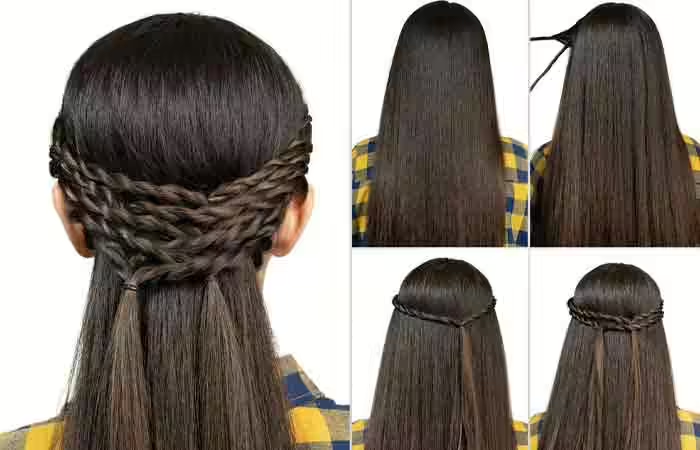
Easy Under Braids
- Part her hair on one side.
- Take a medium-sized section from the fuller side, braid it to the ends, and secure it with an elastic.
- Repeat with another section next to the first braid.
- Gently pull apart the braids to create a fuller appearance.
- Pin both braids at the back, tucking them under her hair.
Rose Bun
- Divide the top half of her hair into three sections.
- Braid each section individually and secure with elastics.
- Pancake the braids by tugging gently on their edges.
- Roll the first braid into a circular shape to form a rose, pinning it as you go.
- Repeat for the other two braids.
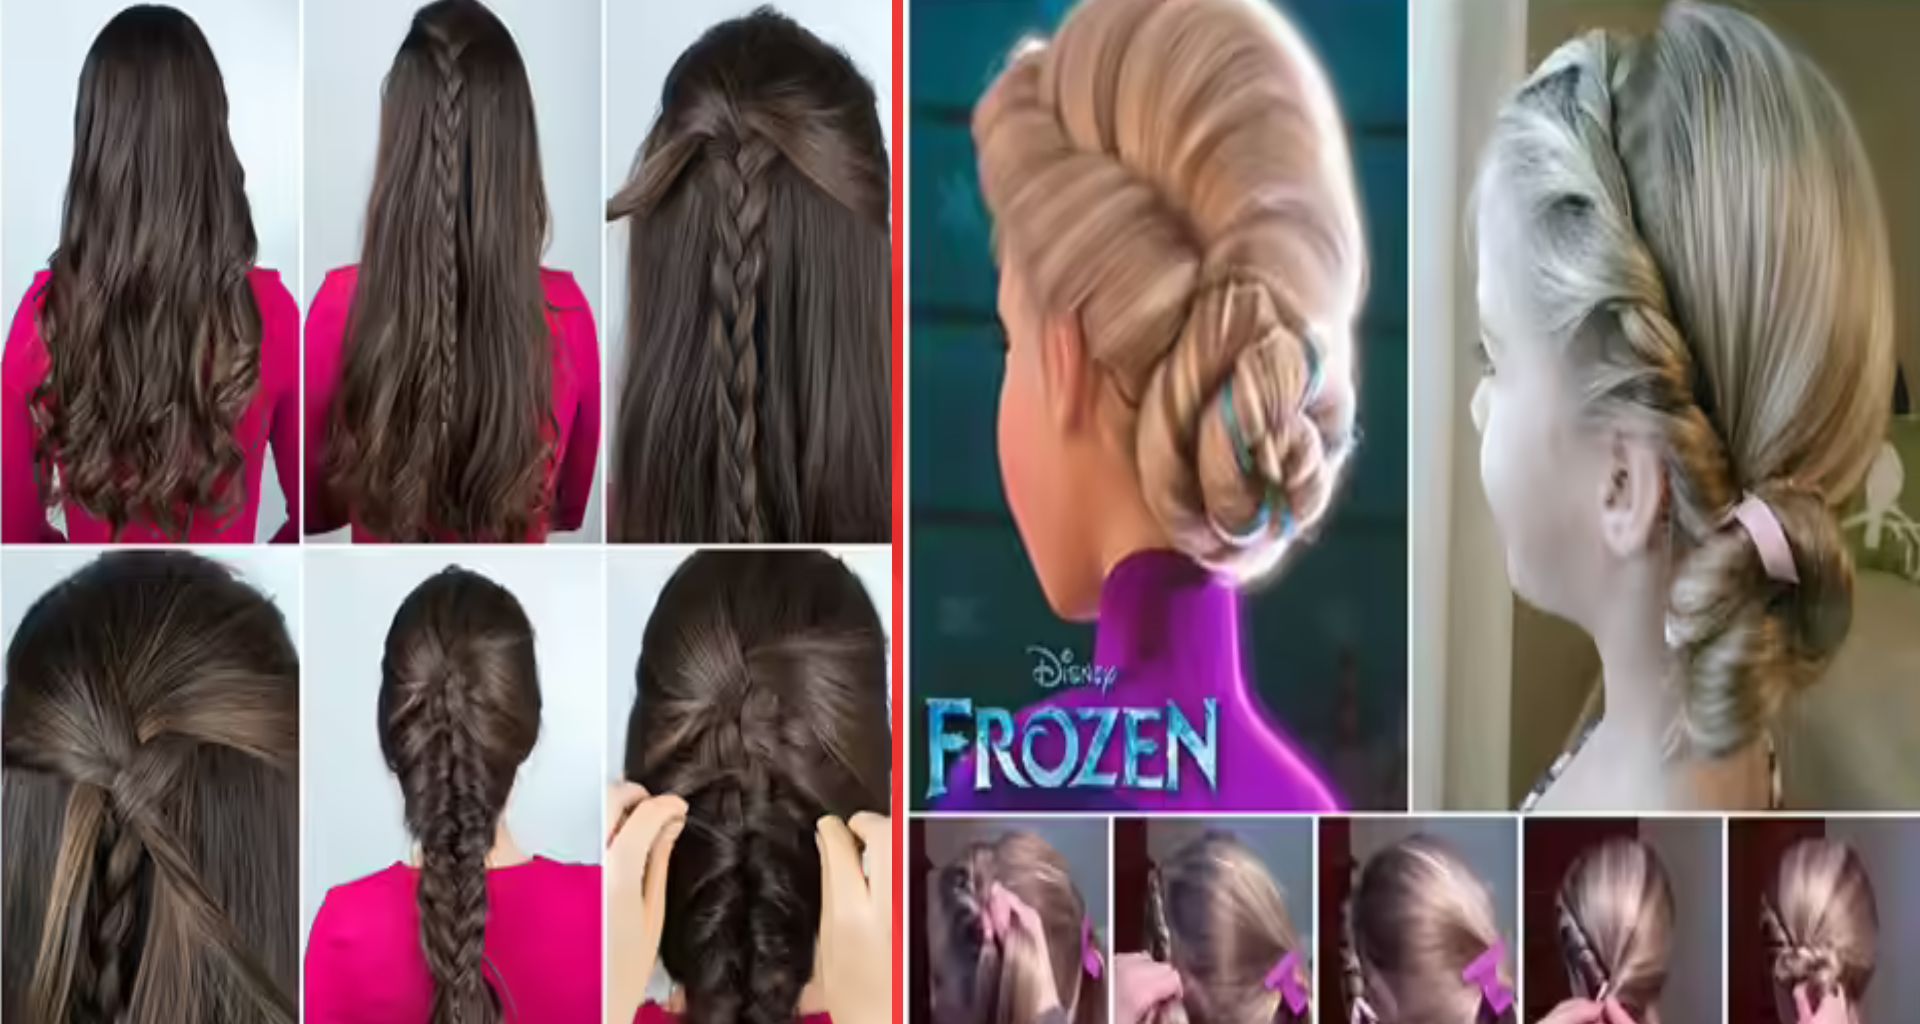
Elsa’s Braid
- Leave out front sections to frame her face and part the remaining hair horizontally into two sections.
- Tease the top section for volume and secure it into a ponytail.
- Begin braiding the ponytail, incorporating hair from the bottom section into a French braid as you progress.
- Once you’ve added all the hair, braid to the ends and secure with an elastic.
- Loosen the braid for a soft, voluminous effect.
Elsa’s Coronation Bun

- Part her hair on one side and create a horizontal section from her ear to the opposite side.
- French twist the section, adding hair as you twist, until you pass her ear. Secure with an elastic.
- Gather the rest of her hair into a side bun under the twist and pin it in place.
- Add a ribbon or accessory for the finishing touch.
Messy Mermaid Braid
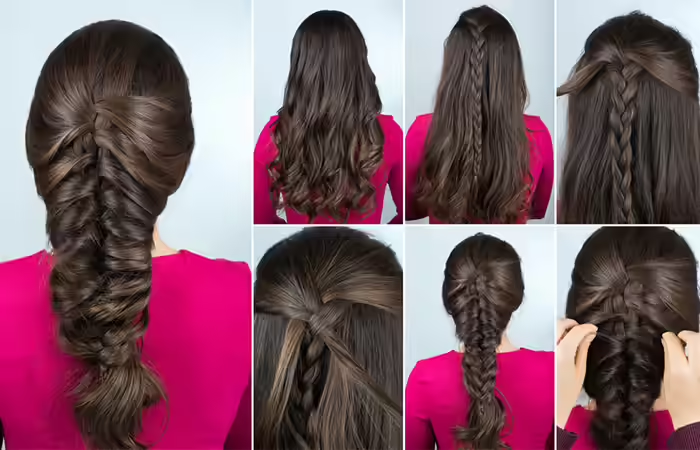
- Curl the lower half of her hair.
- Create a central braid, adding twisted sections from alternating sides into the braid’s stitches.
- Secure the ends with an elastic and gently tug the braid to make it appear fuller.
Triple Braid
- Tie her hair into a ponytail.
- Divide the ponytail into three sections, braid each one, and secure with elastics.
- Use the three braids as strands to create one large braid.
Quick Tip
This style adds volume, making it perfect for thin hair.
Dutch Pigtails
- Part her hair in the center, creating two sections.
- Dutch braid each section, flipping side strands under the middle strand and adding more hair with each stitch.
- Braid to the ends and secure with elastics.
Messy Bun
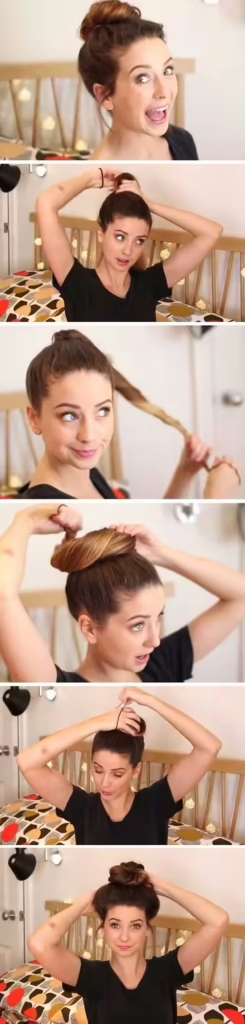
- Gather her hair into a high ponytail, twist it, and roll it into a bun.
- Secure with an elastic and bobby pins. Pull out a few strands to frame her face.
Easy Twisty Bun
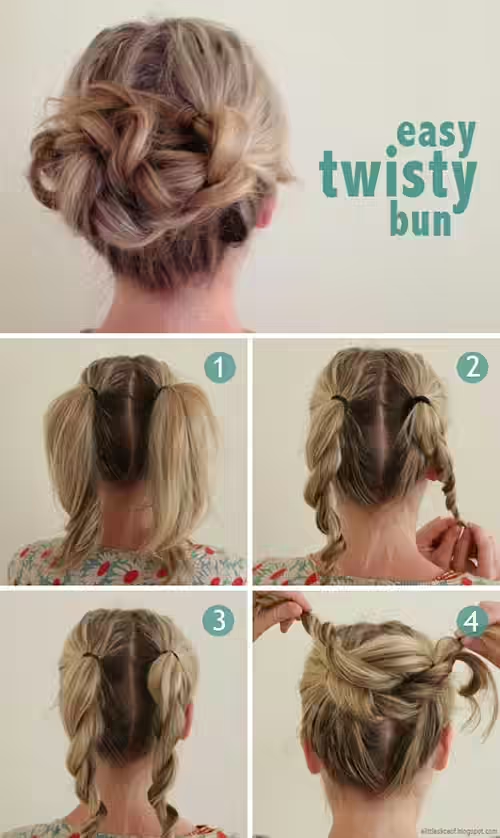
- Part her hair in two sections and tie them into ponytails.
- Twist and intertwine each ponytail into a bun, securing with bobby pins.
Bubble Ponytail
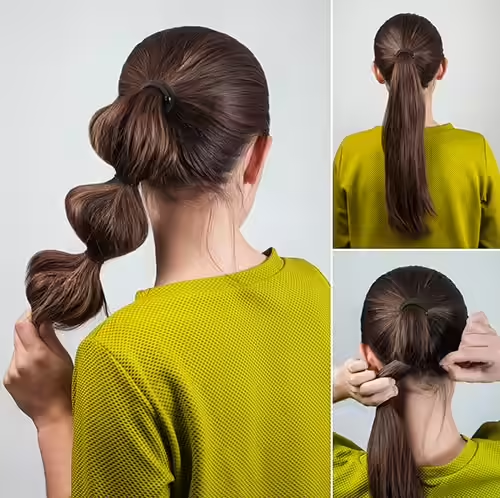
- Tie her hair into a ponytail and add elastics at intervals.
- Gently pull sections between the elastics to create “bubbles.”
Rope Twisted Ponytail
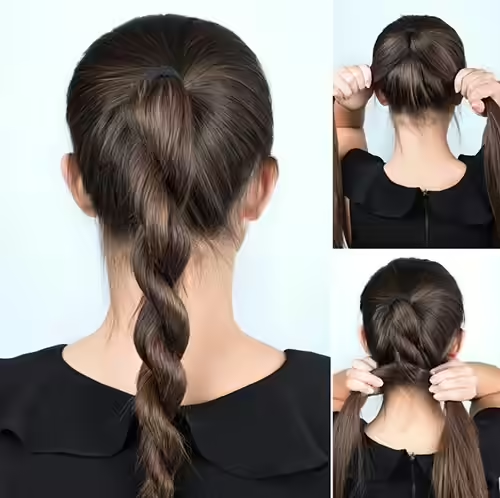
- Tie her hair into a ponytail, divide it into two sections, and twist each section individually.
- Intertwine the two twisted sections and secure with an elastic.
Bumped-Up Ponytail
- Place a bumpit at the crown, cover it with hair, and secure into a ponytail.
- Tease the base of the ponytail for added volume.
Triple Twisted Ponytail
- Divide her hair into two sections and tie one section into a low ponytail.
- Divide the other section into three smaller sections, twist each one, and add them to the ponytail sequentially.
Ballerina Bow Bun
- Tie her hair into a high ponytail, leaving out a small section.
- Roll the ponytail into a bun, twist the leftover section, and wrap it around the base of the bun.
The 2-Way Braid
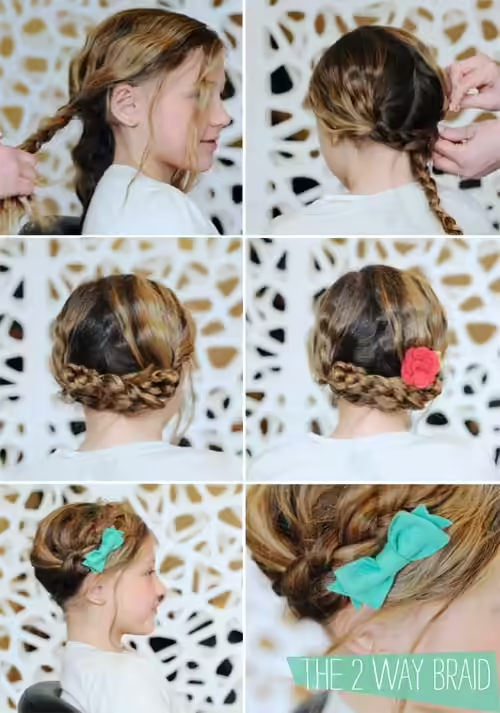
- Part her hair into two sections and braid each one.
- Either cross the braids at the back and tuck in the ends or place them across the top of her head for a crown effect.
Wispy Dutch Braid Updo
- Create two Dutch braids starting from the front and moving toward the back.
- Gather the remaining hair into a bun and wrap the braids around it.
Key Takeaways
- Check the school dress code before selecting a hairstyle.
- Accessories like bows and ribbons can elevate the look.
- Experiment with twists, braids, and buns for variety.
Would you like this condensed further or formatted differently?
