Pink and black nail art is a trendy and versatile choice for anyone looking to make a bold statement with their manicure. Whether you’re a nail art beginner or an experienced enthusiast, these color combinations offer a wide range of stunning designs that are both eye-catching and easy to create. In this blog post, we’ll explore 10 gorgeous and easy pink and black nail art ideas that you can try at home.
1. Classic Polka Dots
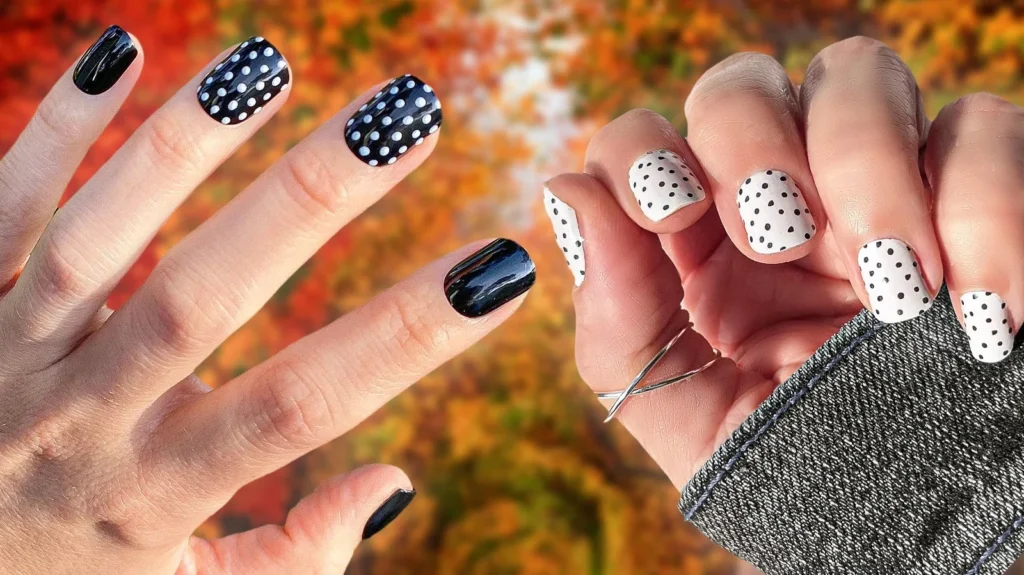
Polka dots are a timeless nail art design that never goes out of style. To achieve this look, start with a base coat of pink or black nail polish. Once the base coat is dry, use a dotting tool or a toothpick to add dots in the contrasting color. You can create a uniform pattern or experiment with different sizes and placements for a unique twist.
Tools Needed:
- Base and top coat
- Pink and black nail polish
- Dotting tool or toothpick
2. Pink and Black Stripes
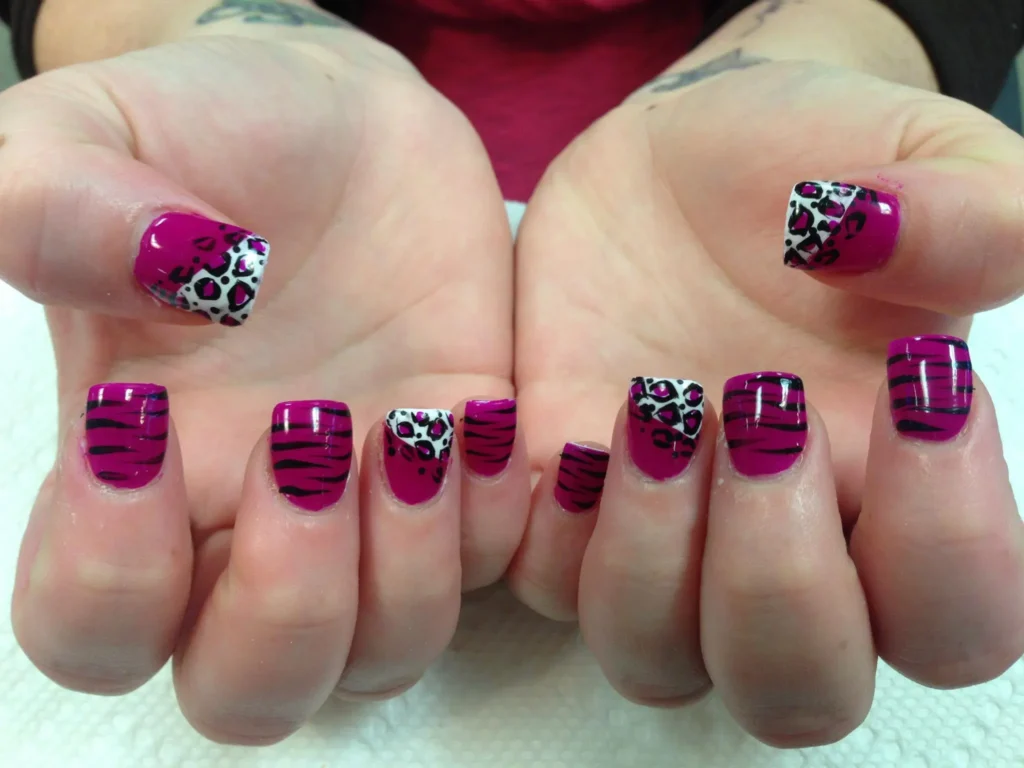
Striped nail art is simple yet chic. Begin with a base coat in either pink or black. Once the base is dry, use nail striping tape to create straight lines. Apply the second color over the tape, let it dry, and carefully remove the tape to reveal your striped design.
Tips for Straight Lines:
- Make sure the base coat is completely dry before applying tape.
- Press the tape firmly to avoid any polish bleeding underneath.
3. Elegant French Tips
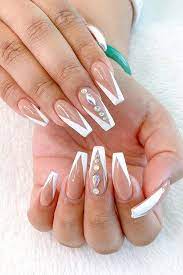
French tips are a classic design with a modern twist when done in pink and black. Start with a base coat of light pink polish. Once dry, use black polish to paint the tips of your nails. You can use nail guides to help achieve a perfect line.
Step-by-Step Guide:
- Apply a base coat of light pink polish.
- Once dry, place nail guides at the tips of your nails.
- Paint the tips with black polish and remove the guides carefully.
4. Pink and Black Gradient
Gradient nail art creates a beautiful ombre effect. To achieve this look, apply a base coat of pink polish. Then, using a makeup sponge, dab black polish at the tips of your nails and blend it down towards the middle. Repeat until you get the desired gradient effect.
Tools Needed:
- Base and top coat
- Pink and black nail polish
- Makeup sponge
5. Heart Accents
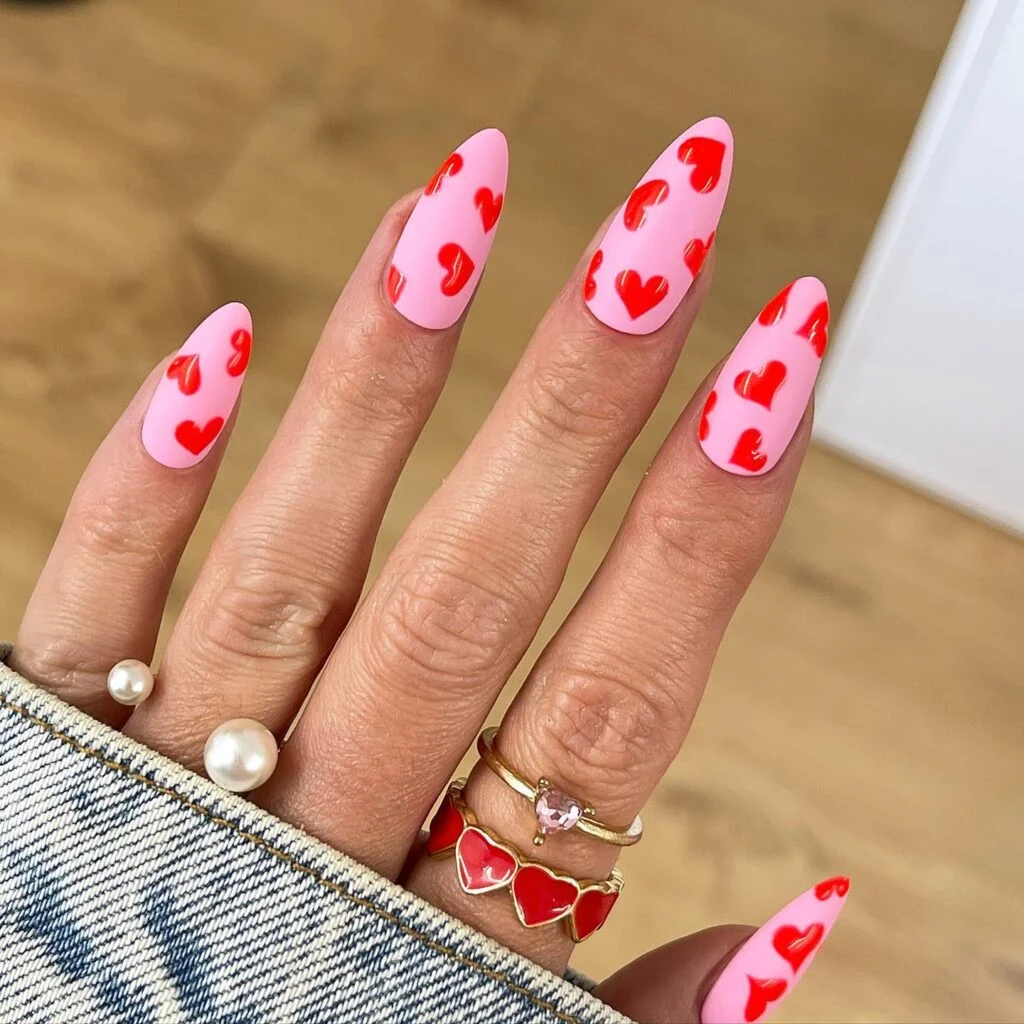
Heart accents are perfect for adding a touch of romance to your manicure. Start with a base coat of pink or black polish. Once dry, use a fine brush or a dotting tool to create small heart shapes in the contrasting color.
Tips for Symmetry:
- Practice drawing hearts on a piece of paper before applying them to your nails.
- Use a dotting tool to make two dots for the top of the heart and then connect them with a V shape.
6. Geometric Patterns
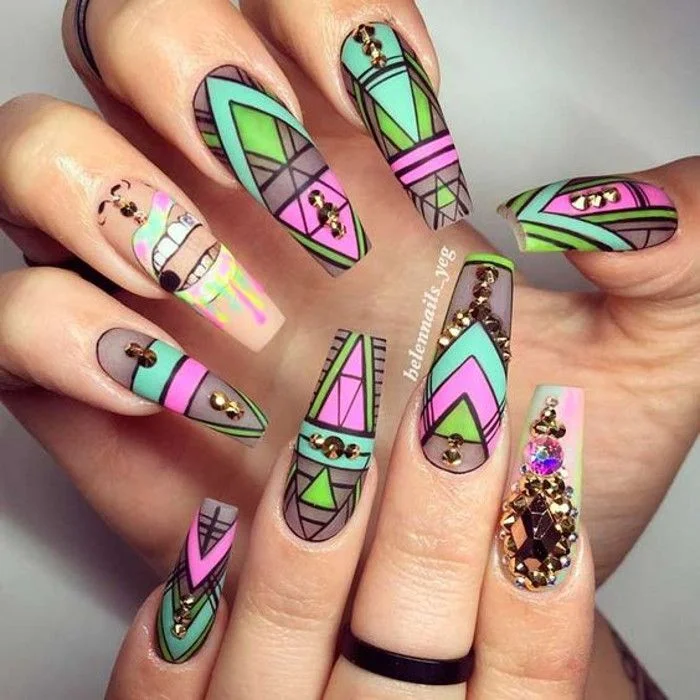
Geometric patterns are trendy and versatile. Begin with a base coat in either pink or black. Once dry, use striping tape to create various geometric shapes like triangles and squares. Apply the second color over the tape, let it dry, and remove the tape to reveal the design.
Step-by-Step Guide:
- Apply a base coat and let it dry completely.
- Use striping tape to create geometric shapes.
- Paint over the tape with the second color and remove the tape carefully.
7. Floral Designs
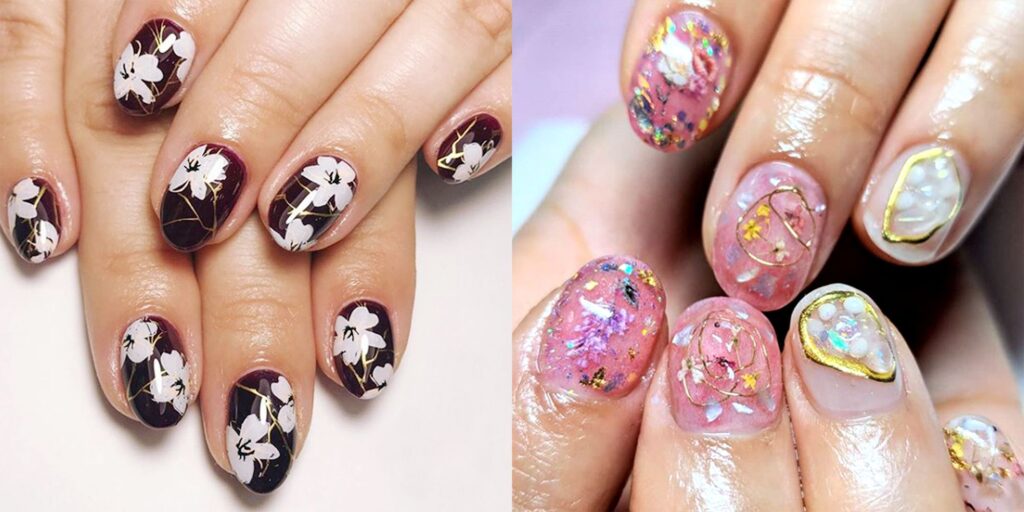
Floral nail art is perfect for a delicate and feminine look. Start with a base coat of pink or black polish. Once dry, use a fine brush or a dotting tool to create small flower shapes in the contrasting color.
Tools Needed:
- Base and top coat
- Pink and black nail polish
- Fine brush or dotting tool
8. Marble Effect
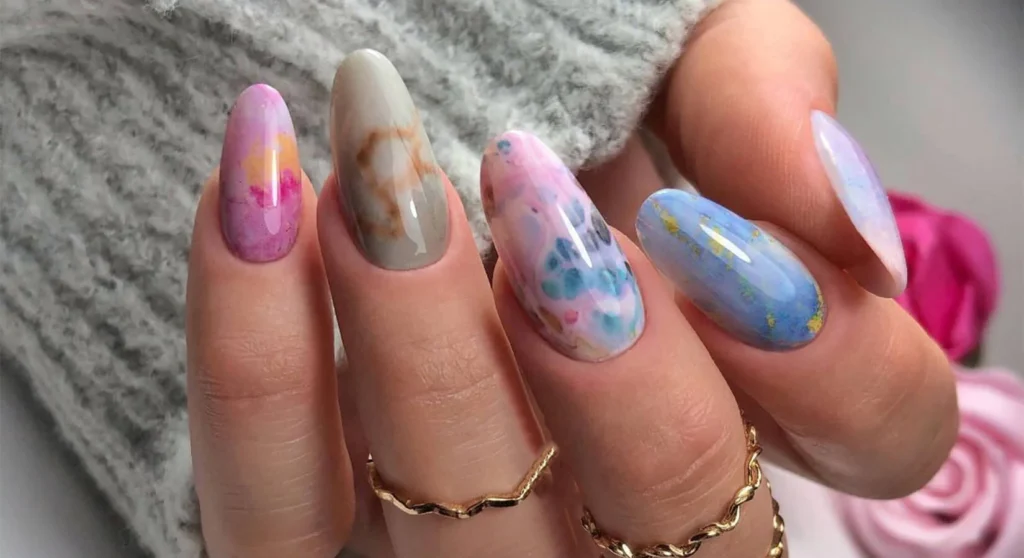
The marble effect is a stunning and sophisticated nail art design. To achieve this look, apply a base coat of white polish. Then, drop pink and black polish into a cup of water and use a toothpick to swirl the colors. Dip your nails into the water to transfer the marble design.
Step-by-Step Instructions:
- Apply a base coat of white polish.
- Drop pink and black polish into a cup of water.
- Use a toothpick to swirl the colors gently.
- Dip your nails into the water and clean up the edges.
9. Glitter Accents
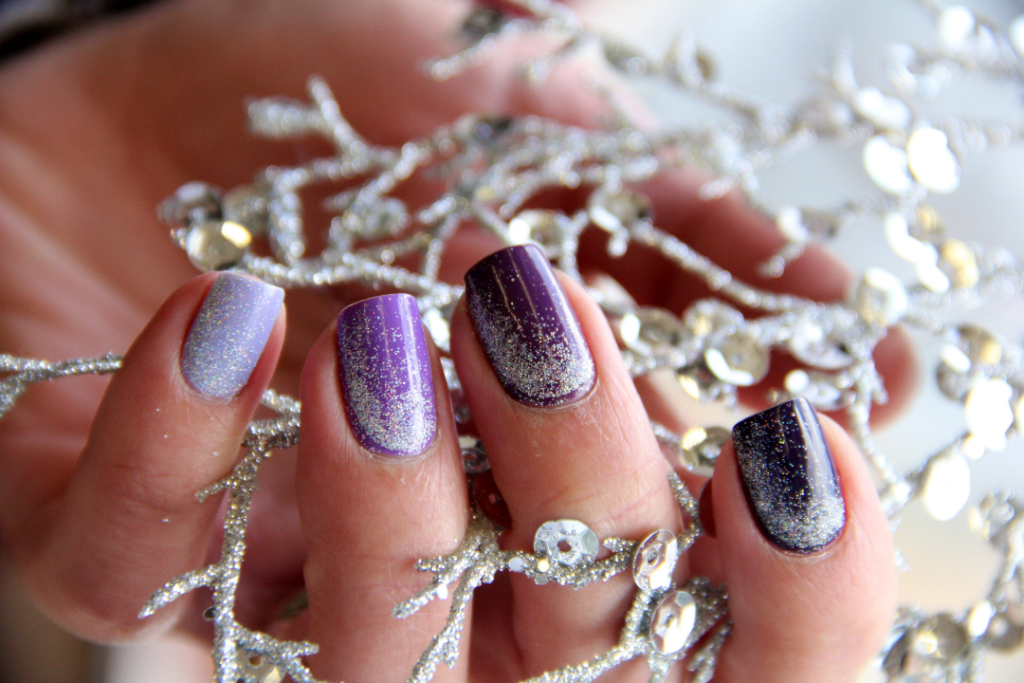
Adding glitter to your pink and black nail art can make it pop. Start with a base coat of pink or black polish. Once dry, apply glitter polish to the tips or as an accent nail for extra sparkle.
Tips for a Neat Glitter Effect:
- Use a sponge to apply glitter polish for a denser look.
- Apply a clear top coat to seal in the glitter and prevent chipping.
10. Animal Prints
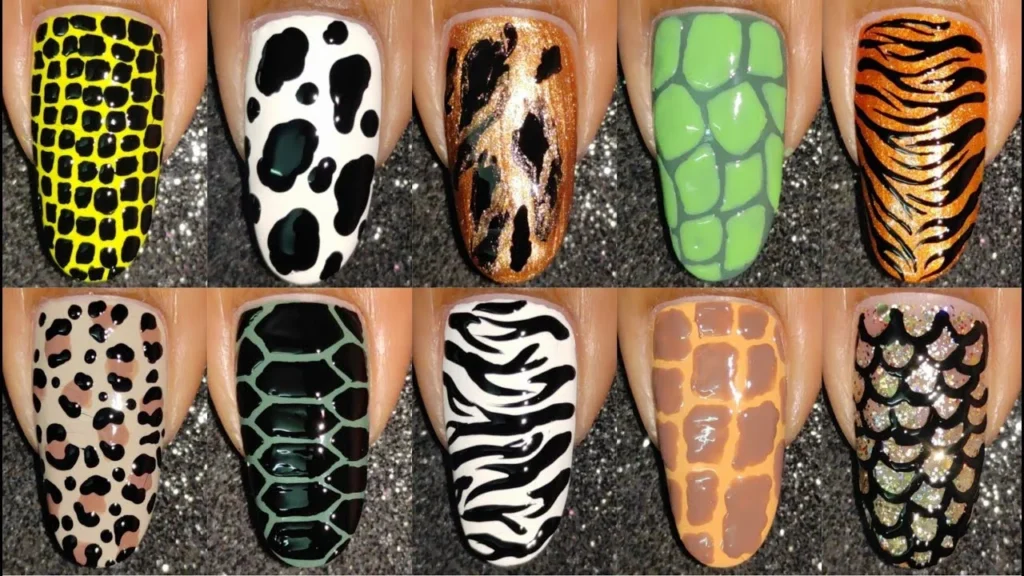
Animal prints like leopard or zebra are bold and fun. Start with a base coat of pink or black polish. Once dry, use a fine brush or a stamping tool to create animal print patterns in the contrasting color.
Tools Needed:
- Base and top coat
- Pink and black nail polish
- Fine brush or stamping tool
Tips for Maintaining Nail Art
- Use a Top Coat: Always finish with a clear top coat to protect your design and add shine.
- Moisturize Regularly: Keep your cuticles and nails hydrated to prevent cracking.
- Avoid Harsh Chemicals: Wear gloves when using cleaning products to protect your nails.
Conclusion
These 10 gorgeous and easy pink and black nail art ideas are perfect for anyone looking to experiment with their manicure. Whether you prefer classic designs like polka dots and stripes or more intricate patterns like marble and floral, there’s something for everyone. Try these designs at home and don’t forget to share your creations!
External Resources for Nail Art
- Nail Art Supplies on Amazon
- Nail Art Tutorials on YouTube
- Nail Care Tips from Healthline
- Latest Nail Art Trends on Allure
- Nail Polish Brands Reviews on Refinery29
- DIY Nail Art Ideas on Pinterest
- Professional Nail Courses on Udemy
- Nail Art Community on Reddit
- Inspiration from Instagram Nail Artists
- Nail Art Techniques on WikiHow

